20 Attached Pergola Ideas: House-Mounted Designs
 Save
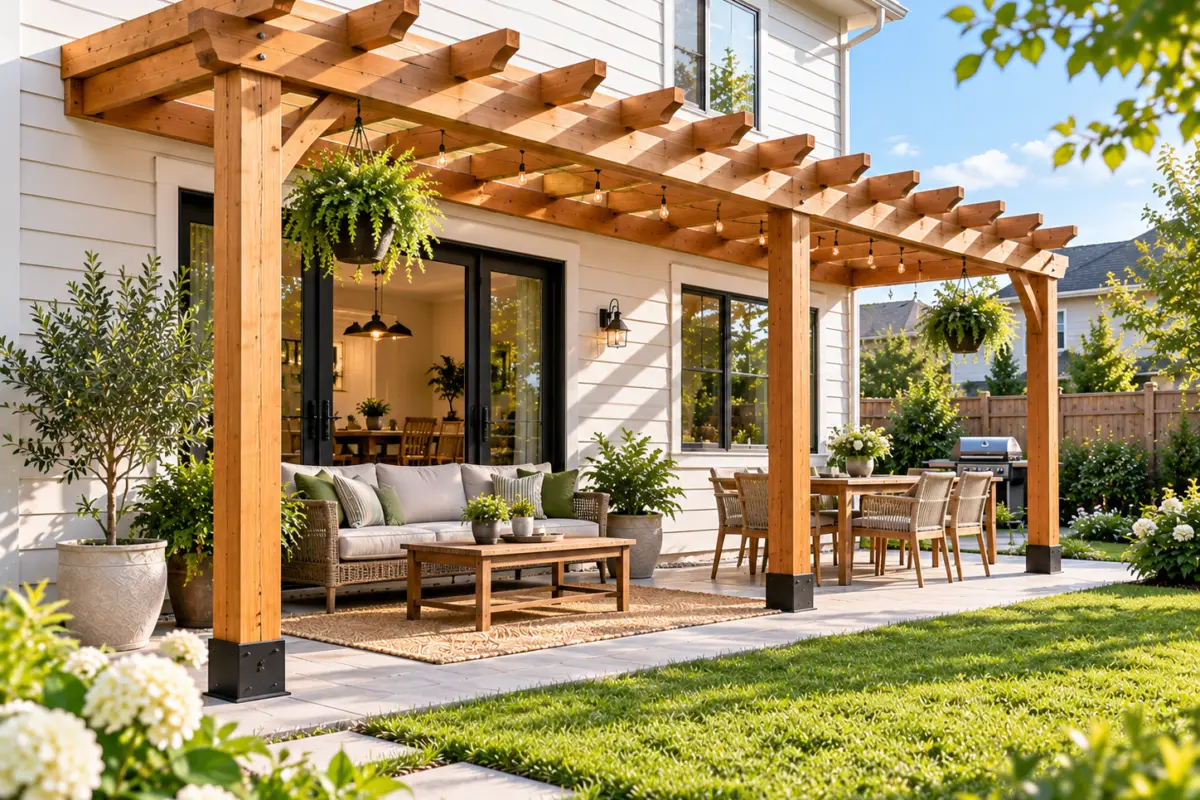
Most attached pergola ideas skip the one part that decides whether the thing lasts: how it meets the wall. A pergola bolted to a house is only as good as its ledger, its flashing and the framing it actually lands in, and none of that shows in a photograph. The twenty builds below are grouped by how they attach, starting with ledger-mounted designs, moving through bracket mounts for brick and stucco, and finishing with freestanding structures that sit close enough to read as attached without touching the wall at all. Each one names the fixing method, the clearance that matters, and roughly what it costs. Save this to Pinterest so the details are with you when you are measuring the wall.
1. Ledger-Mounted Pergola Over a Back Door Landing
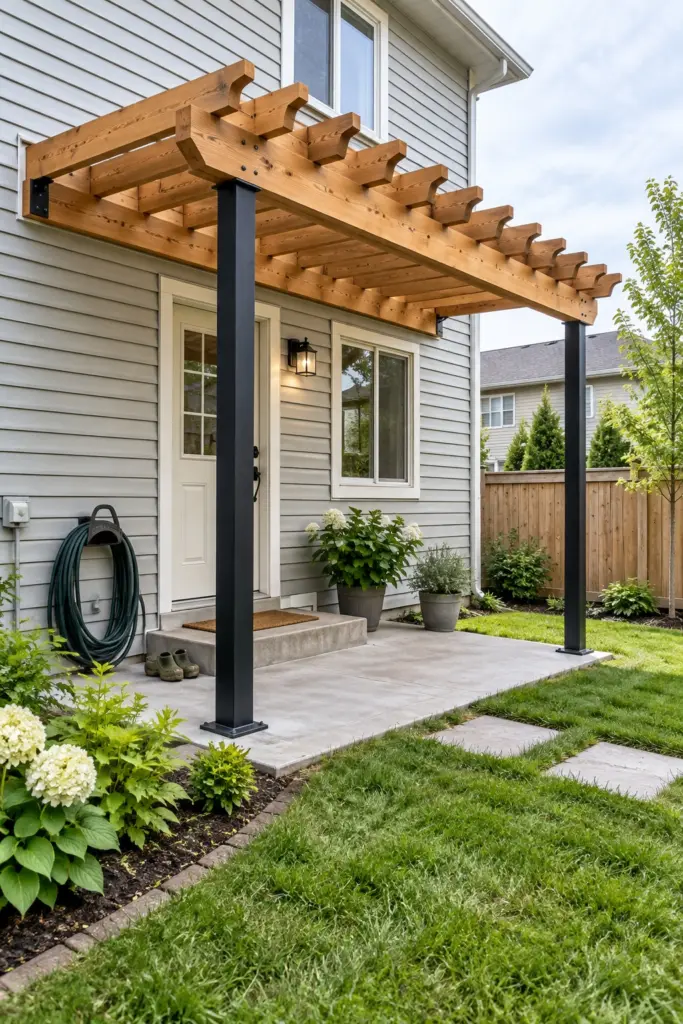
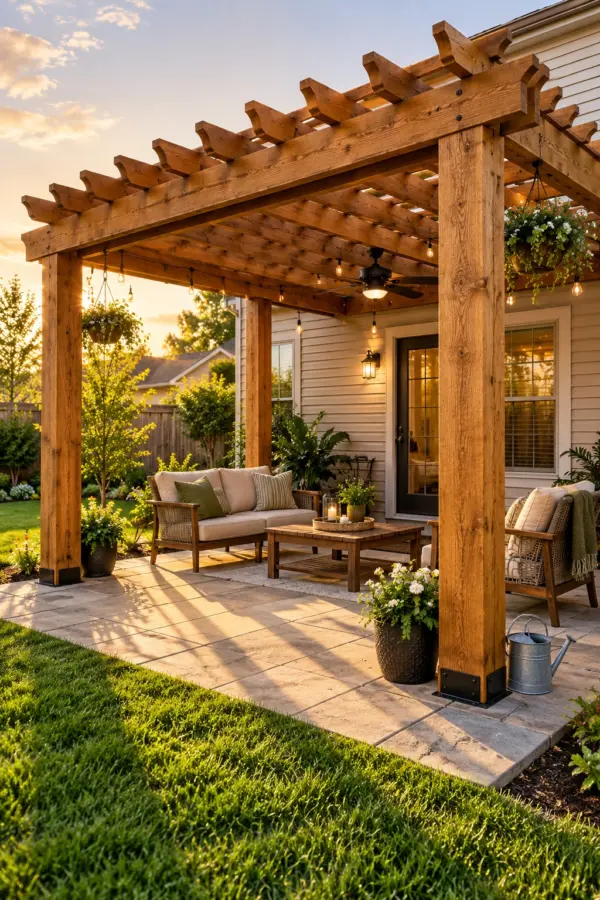
A ledger board bolted to the house carries the whole back edge, which is why this is the cheapest attached pergola to build: two posts instead of four. Use a pressure-treated ledger lagged into the rim joist, self-adhesive flashing tape over the top edge, and 2×8 rafters running out to a pair of black steel post bases. Keep the ledger at least 7 feet 6 inches above the landing so the door swings clear, and set it below the siding line rather than cutting into it.
2. Full-Width Ledger Pergola Across a Rear Elevation
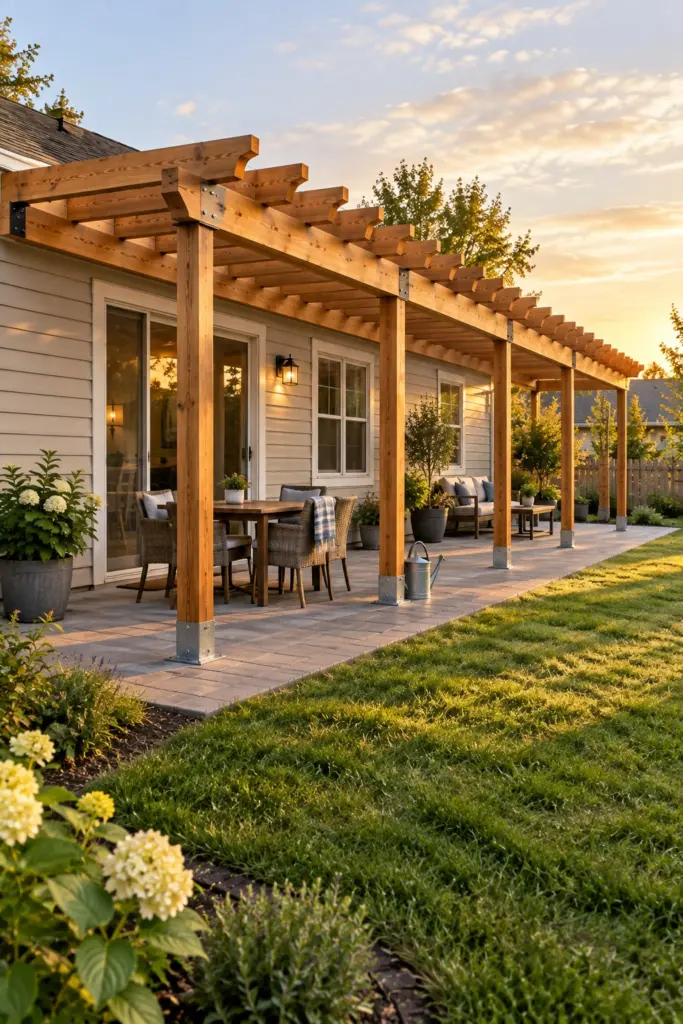
Running the ledger the full width of the house makes the pergola read as architecture rather than an add-on, because the roofline and the beam line finally agree. Build it from doubled 2×10 beams, 2×6 rafters at 16 inches on centre, and six posts on adjustable galvanised bases set into the patio. On a run over about 16 feet you need a mid-span post or the beam sags visibly within two summers. Stain the ledger the same tone as the trim so the join disappears.
3. Ledger Pergola Tucked Under a Roof Overhang
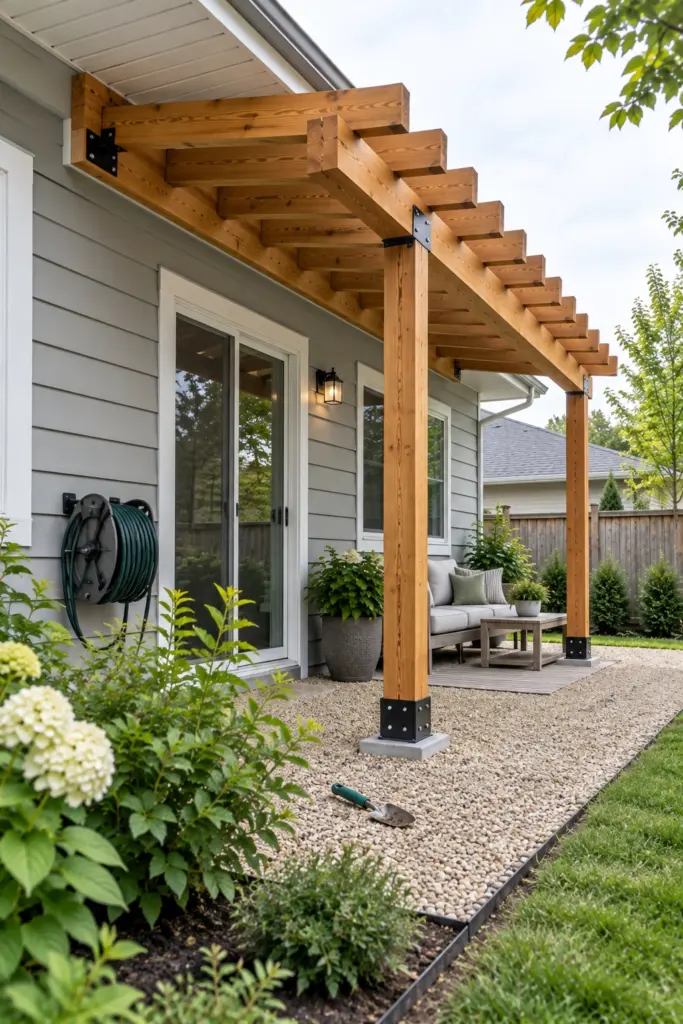
Sliding the ledger up under an existing eave lets the house roof shed water past the pergola entirely, so the join never becomes the weak point. Fix the ledger to the wall below the soffit with structural screws, run 2×6 rafters out at a shallow fall, and finish the outer edge with a doubled beam on two cedar posts. The tight spot is headroom: an eave at 8 feet leaves roughly 7 feet at the low end once you allow for beam depth and slope.
4. Stepped Ledger Pergola on a Sloping Yard
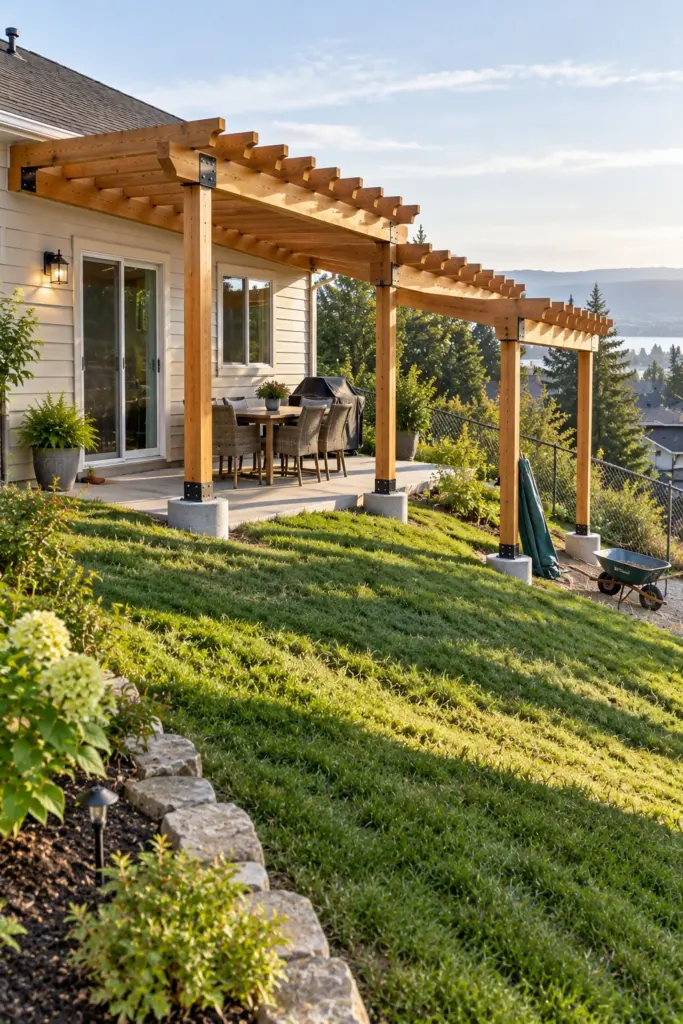
Stepping the beam down in two stages keeps the rafters level while the ground falls away, which is what stops a hillside pergola looking like it is sliding off the house. Set the ledger level, then drop the outer beam in one clean step of about 12 inches, carried on posts of two different lengths on poured footings. Cut every post to length on site after the footings cure. Guessing post length from a drawing is how these end up out of level.
5. Ledger Pergola With a Rain-Shedding Slope
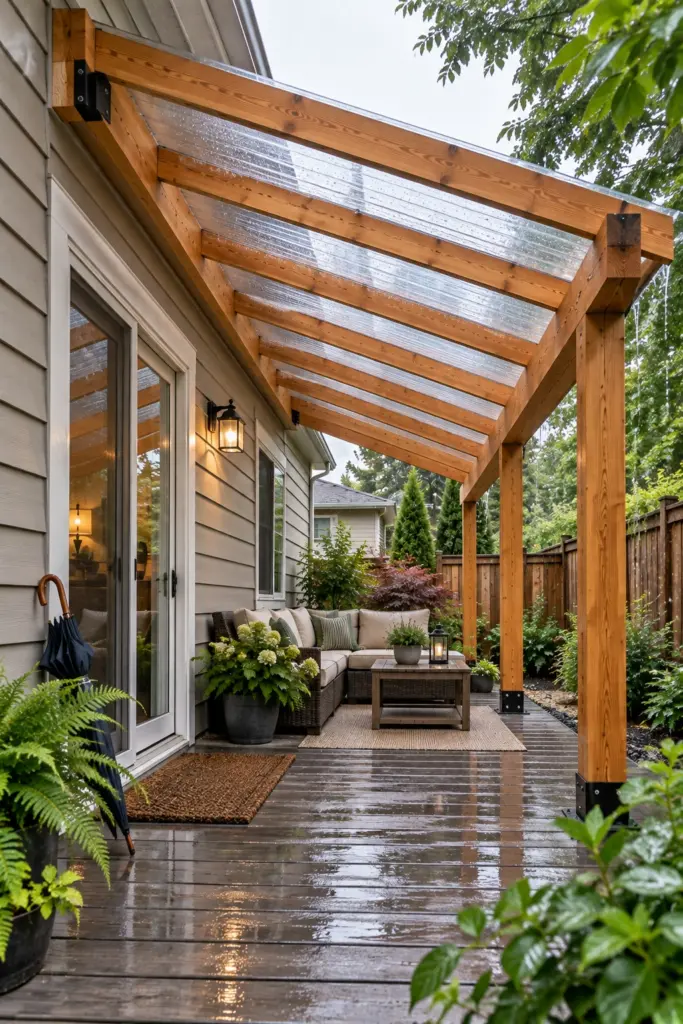
Pitching the rafters away from the house turns the pergola into something that actively moves water off the wall instead of holding it there. Run the ledger high, drop the outer beam so you get roughly an inch of fall per foot of run, and fit clear polycarbonate panels between the rafters with proper closure strips. Below about half an inch per foot the water sheets backward against the siding in wind, which is the exact problem the slope was meant to solve.
6. Ledger Pergola Over a Walk-Out Basement Door
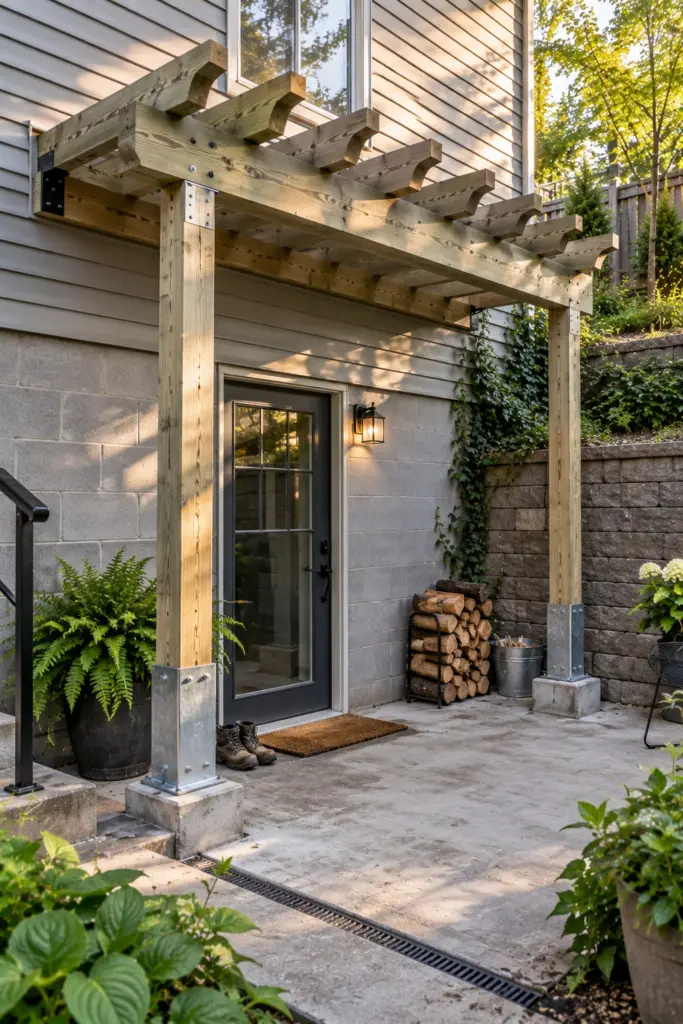
Attaching at basement level puts the ledger low on the wall, which is the one position where ground moisture and splash-back matter more than rain. Fix the ledger above the door head into solid framing, keep the bottom edge at least 8 inches clear of finished grade, and stand the outer posts on tall galvanised standoff bases rather than straight on the slab. Use pressure-treated for anything within a foot of the ground, regardless of what the rest is built from.
7. Ledger Pergola on Brick With Standoff Mounts
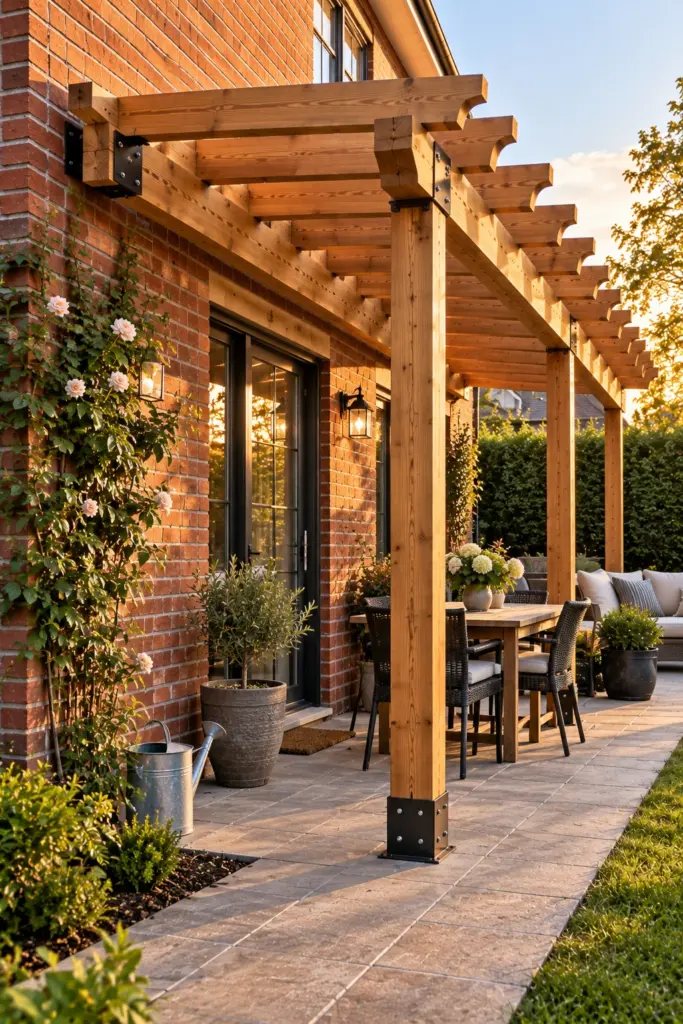
Brick will not take a lag the way a rim joist does, so this build stands the ledger off the wall on sleeves and lets air and water pass behind it. Fix through the ledger into the brick with sleeve anchors set in the brick face rather than the mortar joints, hold the board about half an inch off the wall on rigid spacers, and cap the top with bent flashing. The gap behind is the whole point. Close it and you have built a shelf for water.
8. Ledger Pergola Above Sliding Glass Doors
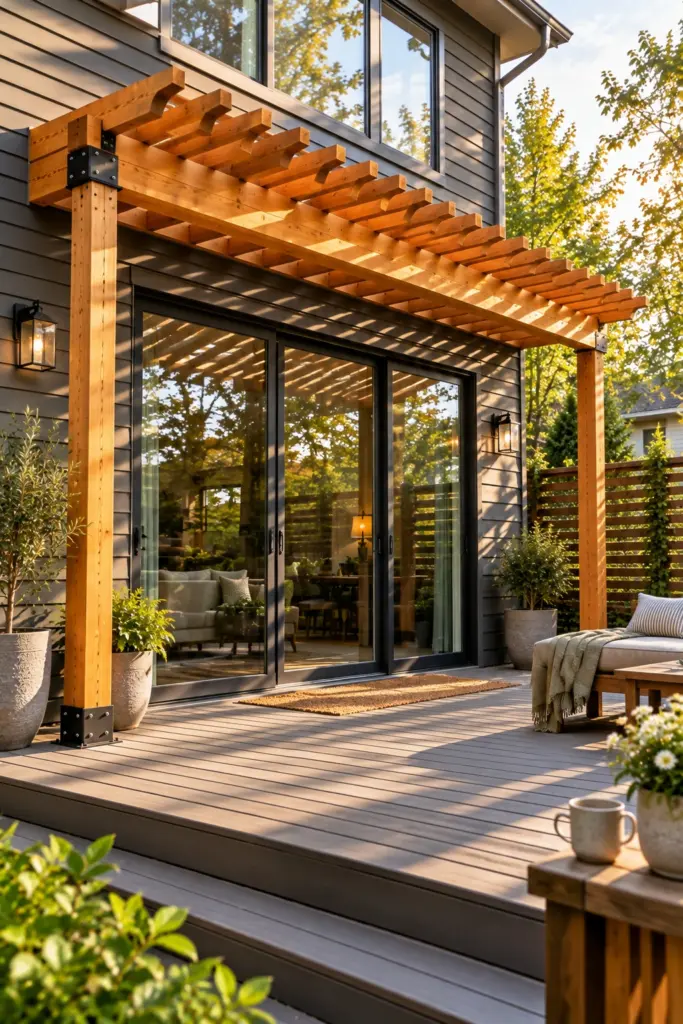
Setting the ledger above the head of a sliding door keeps the glass unobstructed and puts the shade exactly where the afternoon glare lands. Fix into the header framing above the opening, not into the door frame itself, and run the rafters at 12 inches on centre so the shade pattern reads dense enough to matter on glass. On a west-facing wall, extending the rafters 24 inches past the beam buys roughly another hour of usable shade in the late afternoon.
9. Wall-Bracket Pergola on Stucco Without a Ledger
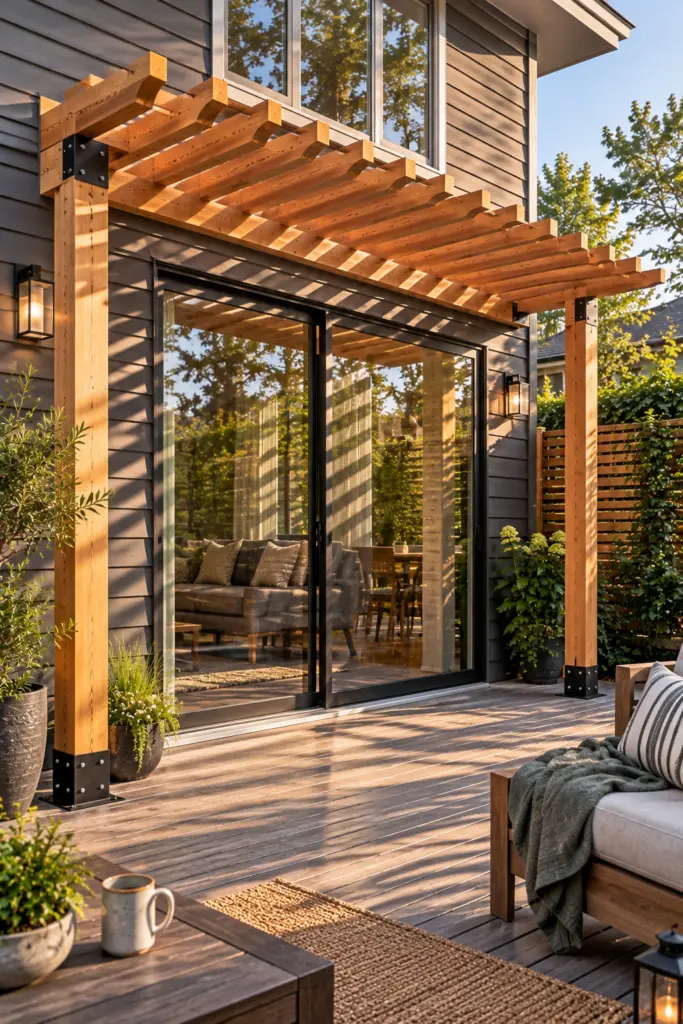
Heavy steel brackets carry the beam directly off the wall, which suits stucco because it concentrates the fixings into a few sealed points instead of one long board. Bolt galvanised brackets through the stucco into structural framing, seal every penetration, and drop the beam into the brackets so the load sits on steel rather than fasteners in shear. Bracket spacing is the constraint here: much beyond 6 feet apart and the beam starts to flex under its own weight.
10. Cantilevered Wall-Mounted Pergola With No Front Posts
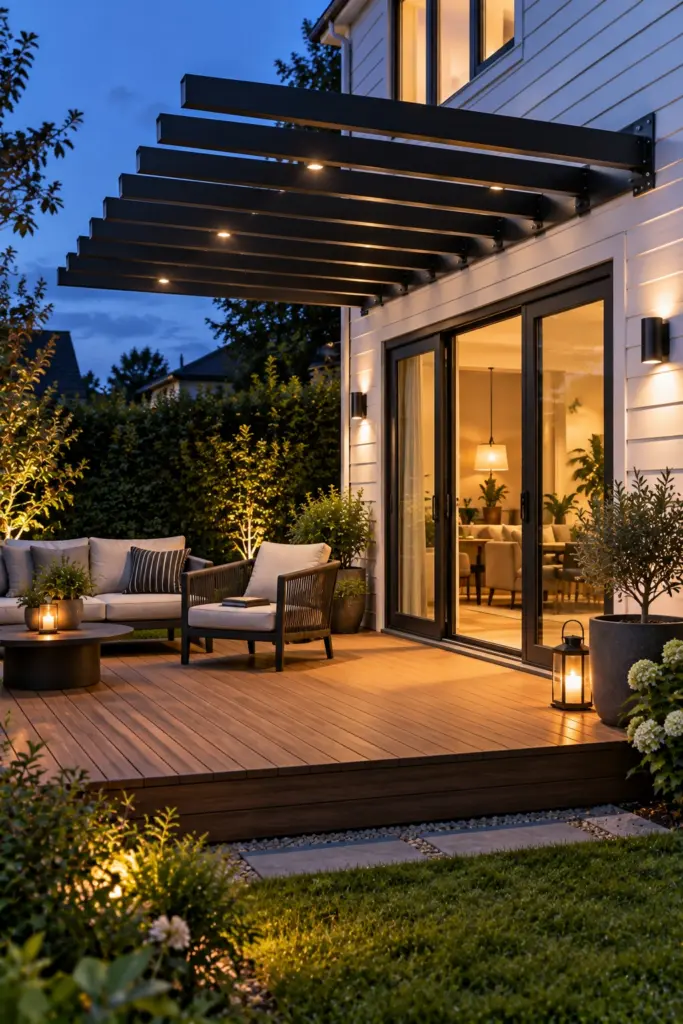
Removing the front posts entirely opens the whole view from the house, and the cantilever is what makes it possible. Heavy wall brackets and a deep back beam carry rafters that project outward with nothing under the far end, usually in powder-coated aluminium rather than timber because the section can be much slimmer. Depth is the hard limit: past about 8 feet the deflection at the tip becomes visible, and a timber version reaches that limit sooner than metal does.
11. Bracket-Mounted Pergola on a Detached Garage Wall
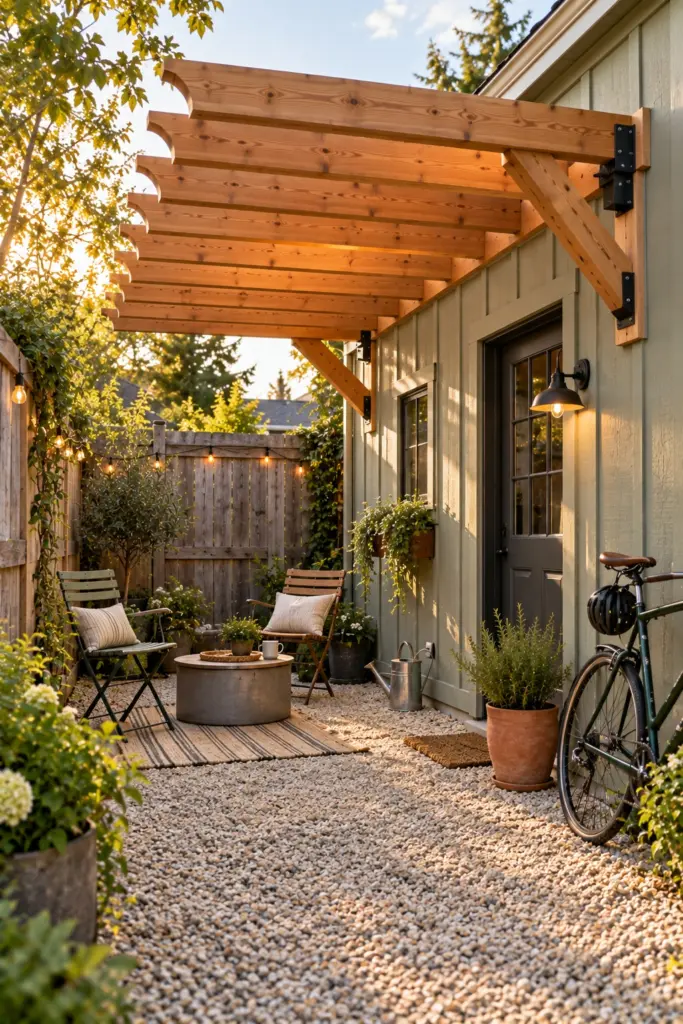
A garage wall is often the sunniest blank surface on a property, and it takes a bracket-mounted pergola without any of the interior-room complications of the house. Bolt brackets into the garage studs, run a beam and cedar rafters out over a gravel seating area, and let the structure define a courtyard between garage and fence. Garage walls frequently have no proper header over the side door, so check what is actually behind the siding before choosing bracket positions.
12. Wall-Mounted Pergola Over a Narrow Side-Yard Path
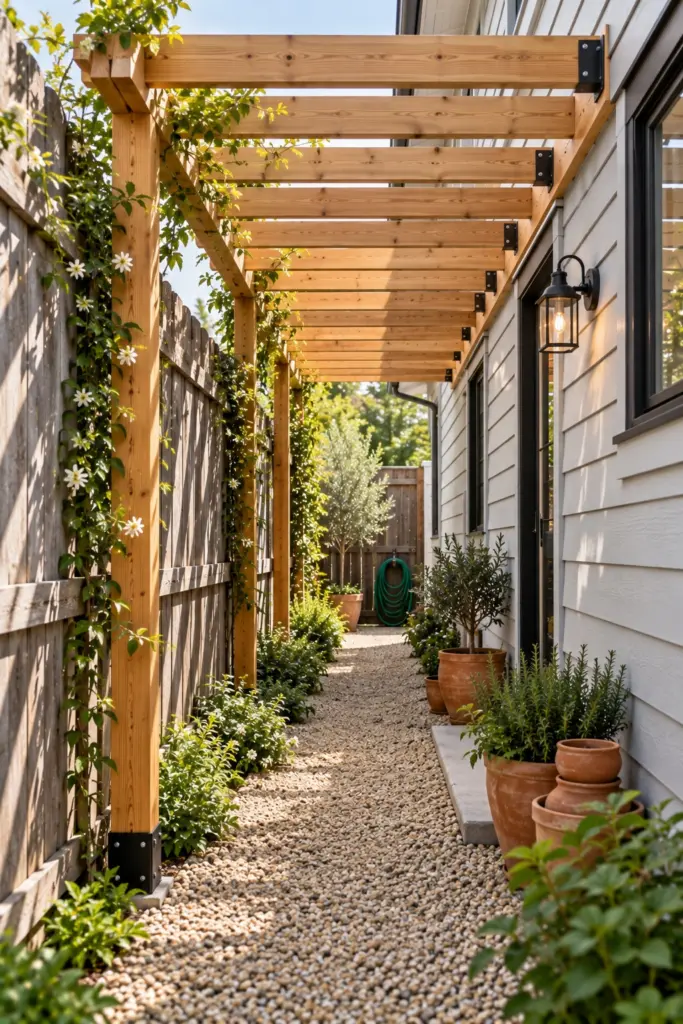
A side yard is usually too tight for posts on both sides, so mounting one edge to the wall is often the only way to get any structure in there at all. Fix a slim beam to the house on brackets, run rafters across to a single line of posts tight against the fence, and gravel the strip underneath. In a 5-foot-wide side yard, posts set 6 inches off the fence leave roughly 3 feet 6 inches of clear walking width, which is about the practical minimum.
13. Aluminum Wall-Mounted Pergola With Hidden Fixings
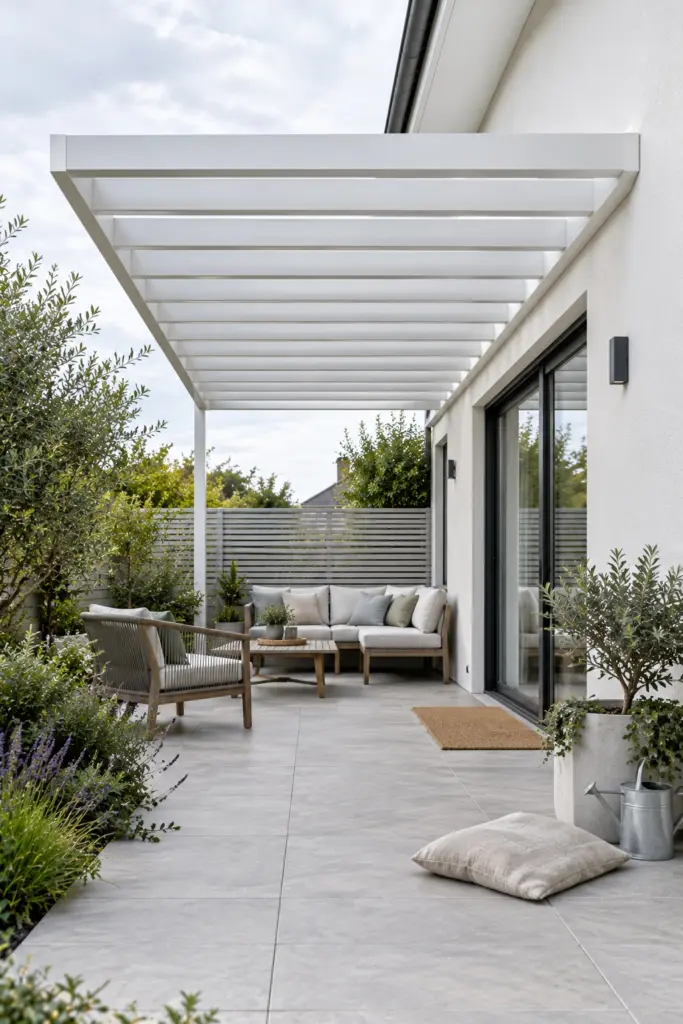
Concealed fixings are what make an aluminium wall mount read as part of the building rather than something bolted on afterwards. The wall channel takes the fasteners, then a snap-on cover conceals them entirely, and the rafters slot into the channel from above. Order the wall channel a few inches shorter than the rafter span so the cut ends are not sitting proud at the corners, which is the detail most kit instructions never mention.
14. Wall-Mounted Pergola Under a Second-Storey Window
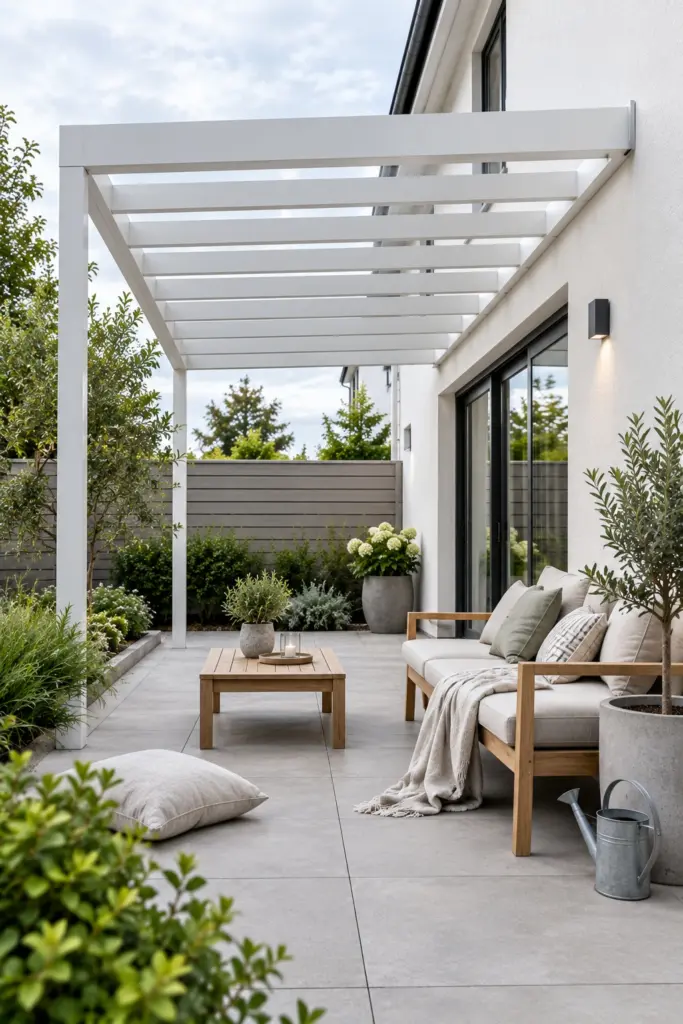
Mounting below an upstairs window means the pergola will be looked down on as often as looked up at, so the top surface has to be worth seeing. Keep the rafter layout regular, run the beam clear of the window reveal, and choose a slat spacing that reads as a pattern from above rather than a random grid. Leave at least 12 inches between the top of the beam and the window sill or the frame becomes impossible to paint later.
15. Freestanding Pergola Set Two Inches Off the Siding
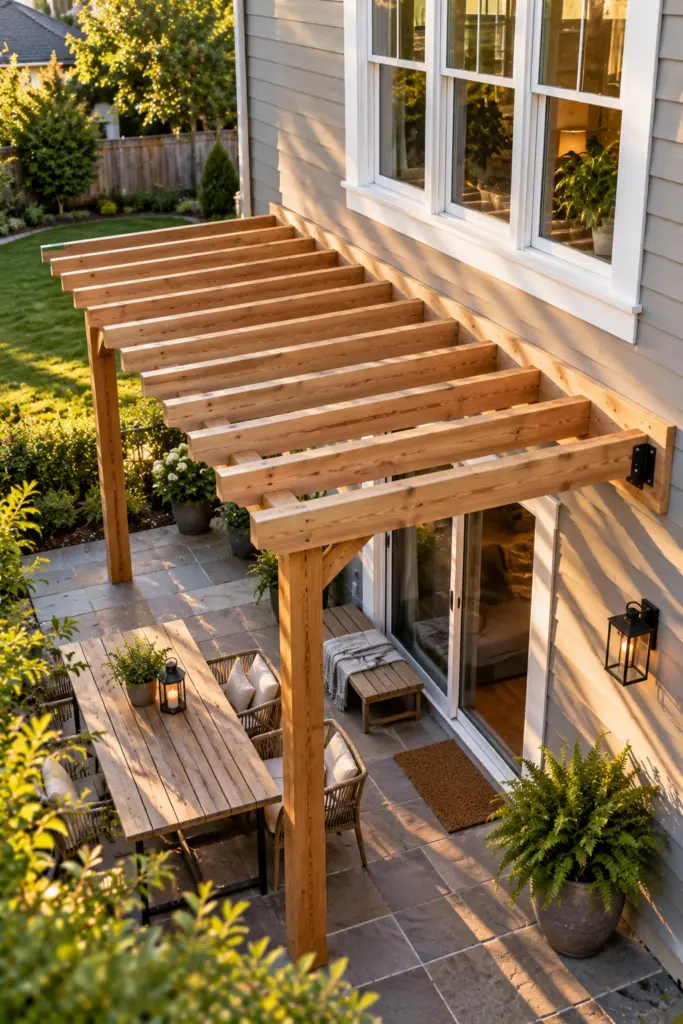
Leaving a deliberate gap between structure and house gives you the attached look without ever drilling into the wall, which sidesteps flashing, rot and most of the permit conversation. Stand four posts on adjustable bases, hold the back beam roughly two inches clear of the siding, and let the gap shed water straight down. Two inches is enough to keep the timber dry and to get a paintbrush in later, and small enough that nobody reads it as a separate building.
16. Four-Post Pergola Reading as Attached From the Patio
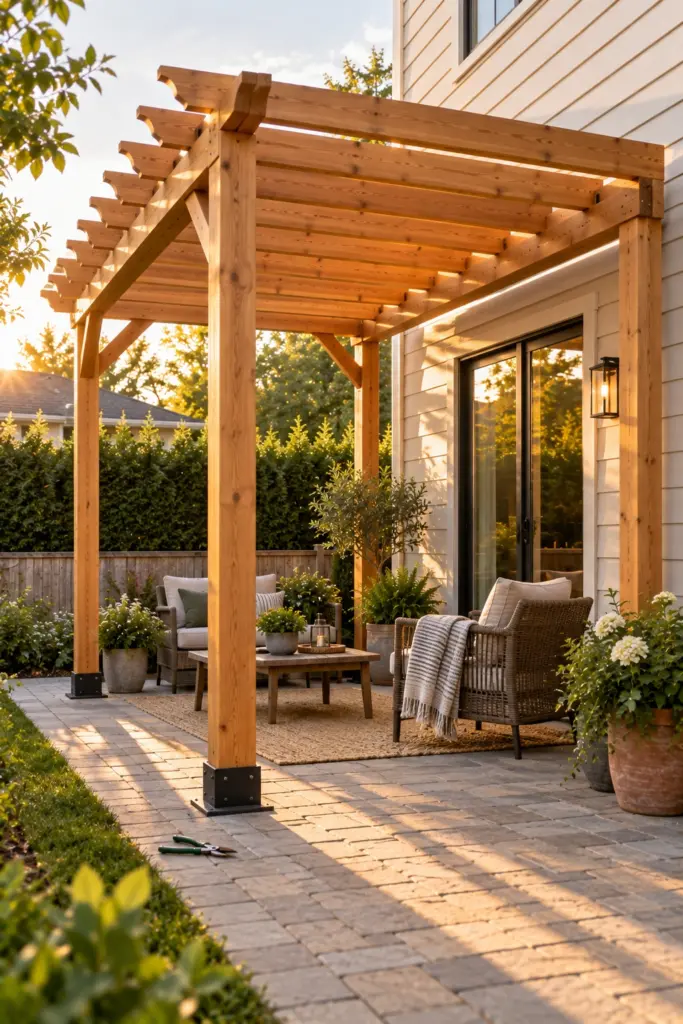
Four posts and careful alignment can make a freestanding pergola look attached from every angle a guest will actually see it from. Line the back beam up with the top of the door head, match the post spacing to the window mullions, and stain the timber close to the trim colour. From the seating area the eye reads it as part of the house. From the side you can see it is not, and that is the only view where it matters.
17. Freestanding Pergola With a Gutter Gap for Runoff
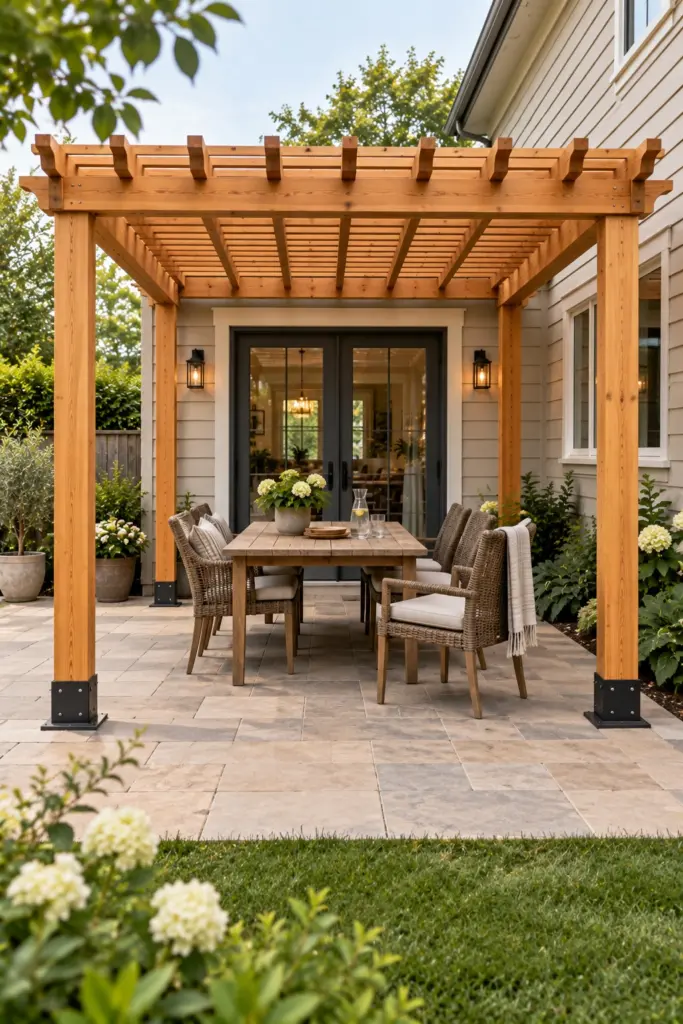
Setting the pergola clear of the house and letting the existing gutter discharge into the gap solves drainage before it becomes a problem. Hold the structure back far enough that roof runoff falls between building and beam, then run a gravel drainage strip along that line to take the water away. A 12-inch gap with gravel beneath handles a normal downspout splash zone. Narrower than that and the runoff lands on the pergola beam instead of past it.
18. Post-and-Beam Pergola Framing a Back Door Without Touching It
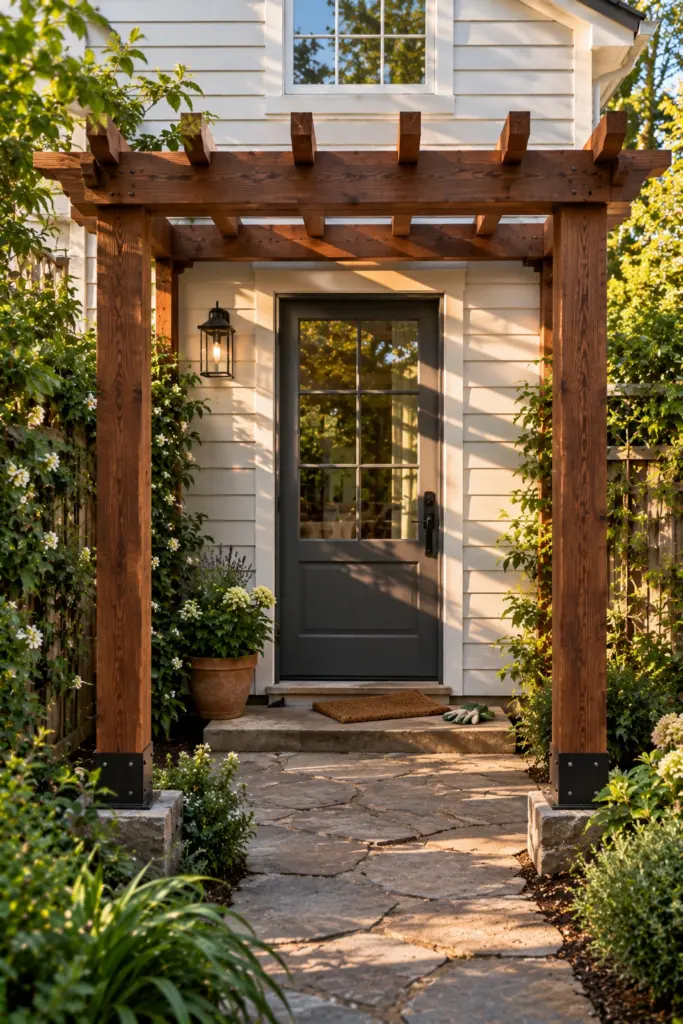
Framing the doorway with a freestanding structure gives the entrance presence while leaving the wall entirely alone. Set two heavy posts either side of the door, run a deep beam across at head height, and continue the rafters outward over the path. Keep the posts at least 3 feet clear of the door swing on the handle side. Tight against the opening they look intentional in a drawing and become an obstacle the first time somebody carries something through.
19. Freestanding Pergola Over a Deck With Surface Post Bases
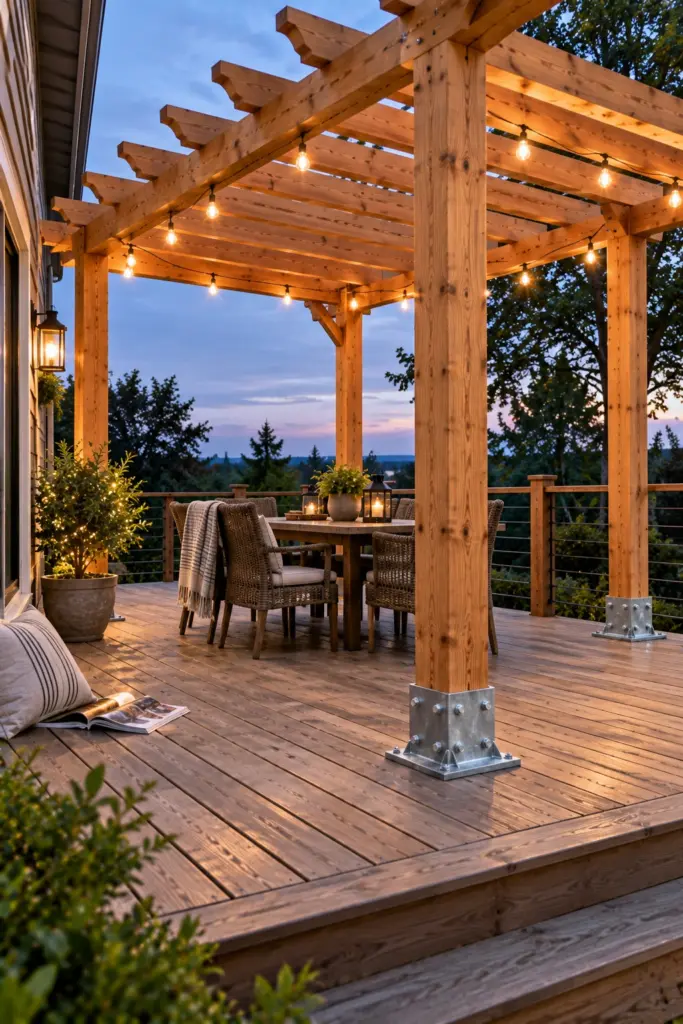
Building on an existing deck means the posts land on the deck frame, not the ground, and surface-mounted bases are what make that connection work. Bolt heavy galvanised post bases through the decking into a joist or a doubled blocking below, never into deck boards alone. Locate every base over structure before you cut anything. A post carried on decking alone will feel solid on day one and will be moving by the end of the second season.
20. Freestanding Pergola Bridged to the House With a Fabric Panel
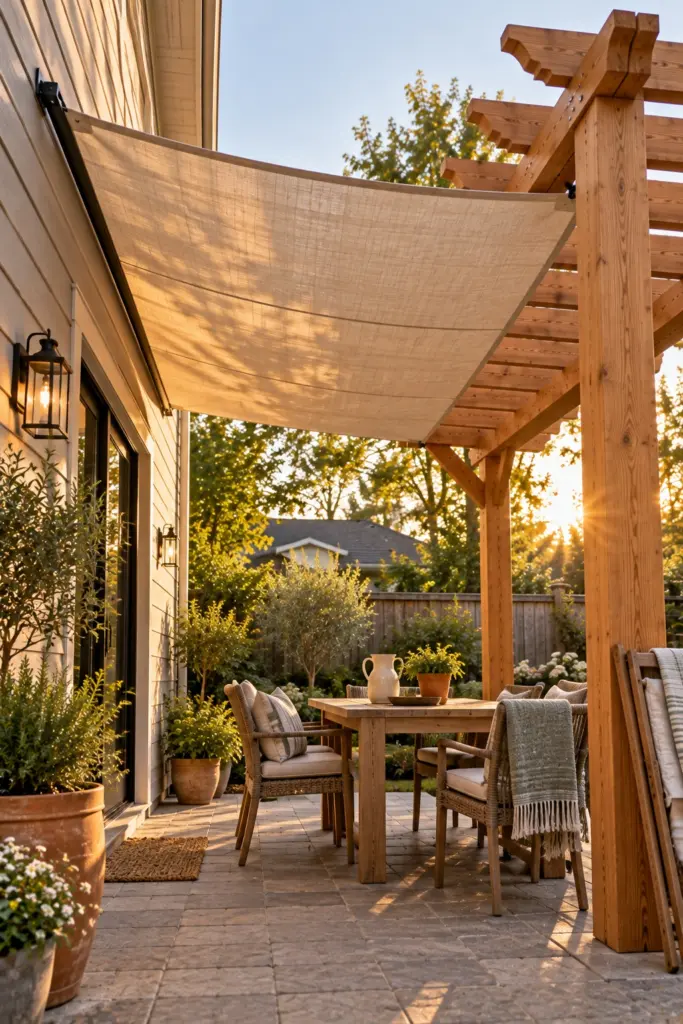
A fabric panel spanning the gap gives continuous shade from wall to pergola without any structural connection to the house at all. Fix a slim tensioned wire or track to the wall, clip a shade sail or canvas panel across to the pergola beam, and take it down for winter. Give the fabric a fall of at least 10 degrees toward the pergola so water runs off. Flat panels pool, stretch and eventually tear at the fixing points.
Final Thoughts
The attachment method drives everything else here. A ledger into solid rim joist is the cheapest route and the one that punishes bad flashing hardest. Brackets suit brick and stucco because they concentrate the fixings into a few sealed points. Standing the structure two inches clear of the siding avoids the problem entirely, and from the patio nobody can tell. If the yard is tight, work back from the smallest workable layout first. Save this to Pinterest so the fixing details are with you at the wall.
Frequently Asked Questions
Yes, and it is the most common way to build one, but the ledger has to land in structural framing such as the rim joist rather than in siding or a door frame. Flashing over the top edge is not optional. Attaching to a house frame usually needs a permit, so check with your local building department before you drill.
Common practice is a minimum of 7 feet 6 inches of clear headroom at the low edge, measured after you allow for beam depth and any slope. Doors and windows set the real limit: the ledger has to clear the door head and leave room to work around the frame later, which often pushes the height up rather than down.
Only if it is fixed badly. Damage comes from water tracking behind an unflashed ledger and sitting against the sheathing, not from the pergola itself. Flash over the ledger, slope the tape away from the wall, and on brick or stucco stand the board off on spacers so air can move behind it.
Usually yes, because the wall carries one whole edge and you build two posts instead of four. The saving shrinks once flashing, masonry fixings or a permit are involved. On brick or stucco the fixing cost can close the gap entirely, which is worth pricing before you decide.
Loved this? Pin it so you can find it later.
Pin this post
Sana Ahmed
Hi! I’m Sana, and I’m always looking for fresh ideas to make outdoor spaces more beautiful and enjoyable. I love exploring everything from cozy patios and pergolas to backyard fire pits, privacy solutions, and charming garden sheds. I’ll be sharing the ideas that catch my eye and hopefully help you find a little inspiration for your own outdoor space.
All postsKeep reading