20 Freestanding Pergola Ideas for Any Yard
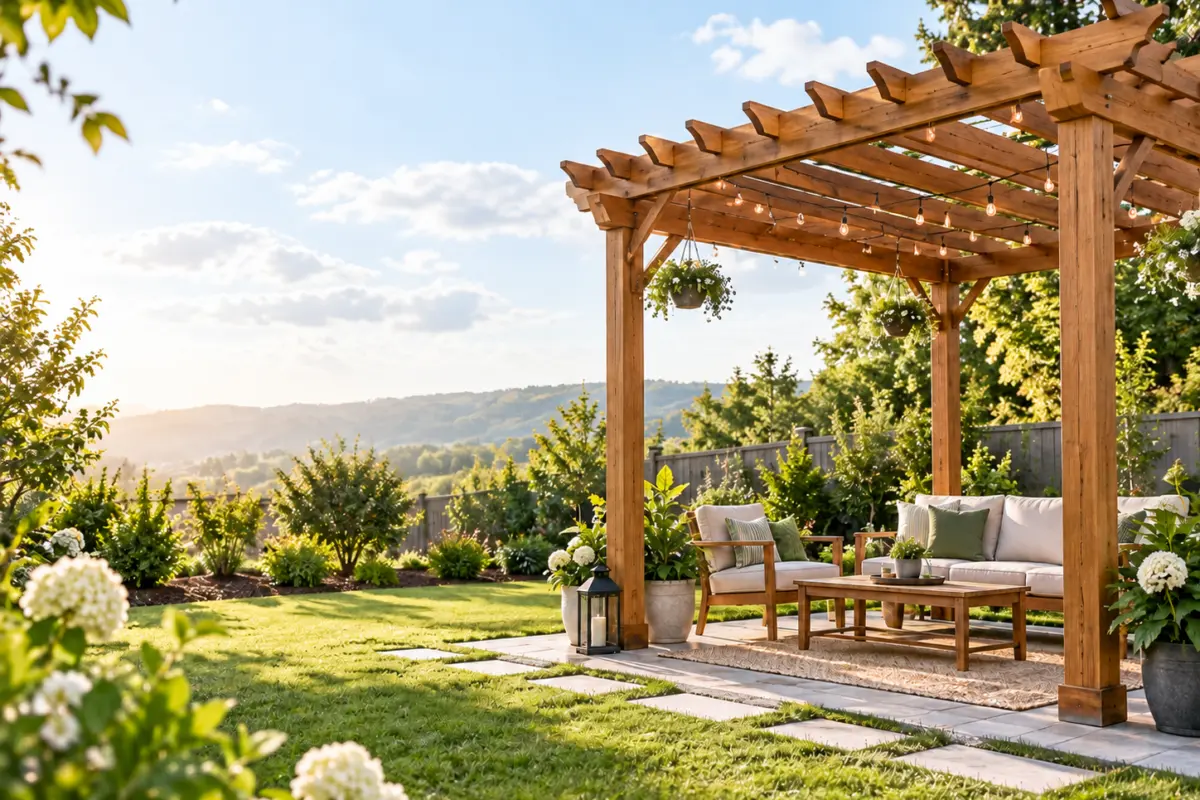 Save
Save
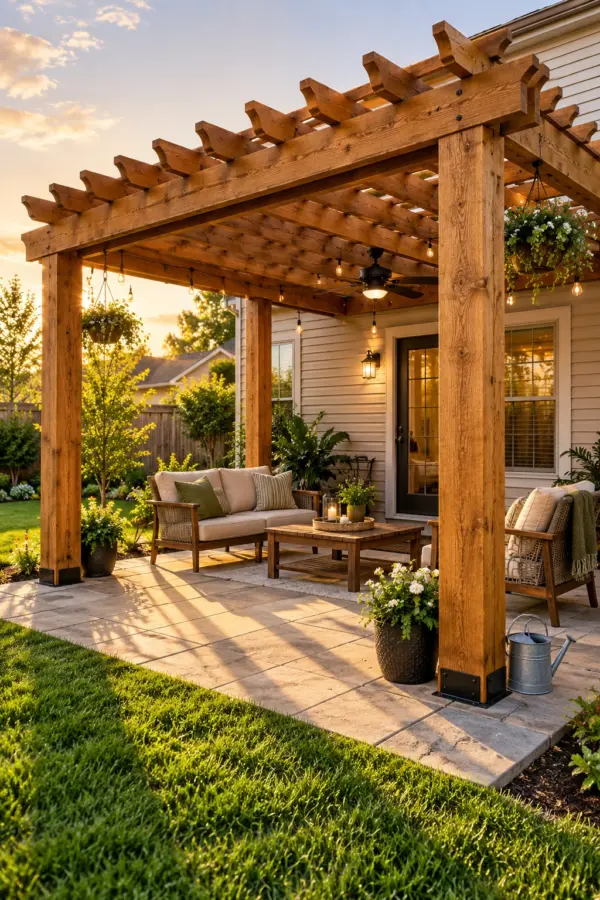
The hard part of most freestanding pergola ideas is not the build, it is deciding where the thing goes. A freestanding pergola can stand anywhere, which sounds like freedom until you are standing on the lawn with a tape measure and no reason to put it in one spot over another. The twenty below are sorted by siting logic rather than style: structures that frame a view, structures that define a zone in open ground, and structures placed to work around a slope, a fence corner or a service run. Each one names the clearance or footing detail that decides whether it works. Save this to Pinterest so the numbers are with you when you are pegging out the yard.
1. Pergola Framing the Best View From the Back Door
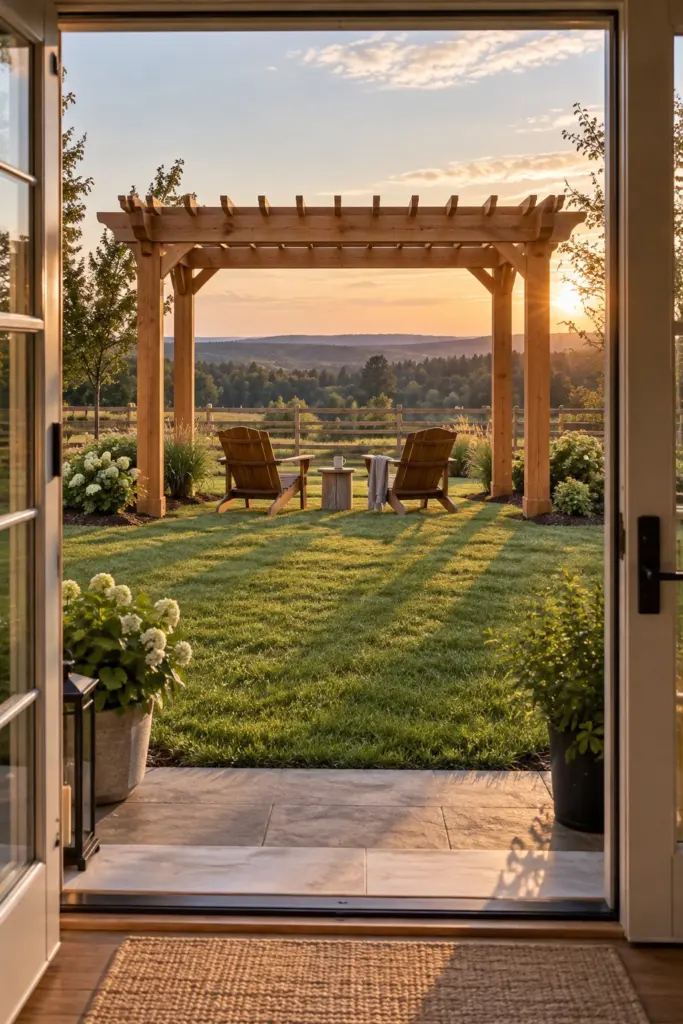
Siting the pergola so its opening lines up with the best view turns the structure into a frame rather than an object in the way. Stand in the doorway, find what you actually want to look at, and set the two far posts either side of it. Build it in cedar with 6×6 posts and a doubled beam, on poured footings. Posts roughly 10 feet apart read as a frame; much wider and the eye stops seeing an opening and starts seeing scattered uprights.
2. Pergola at the End of a Lawn Axis
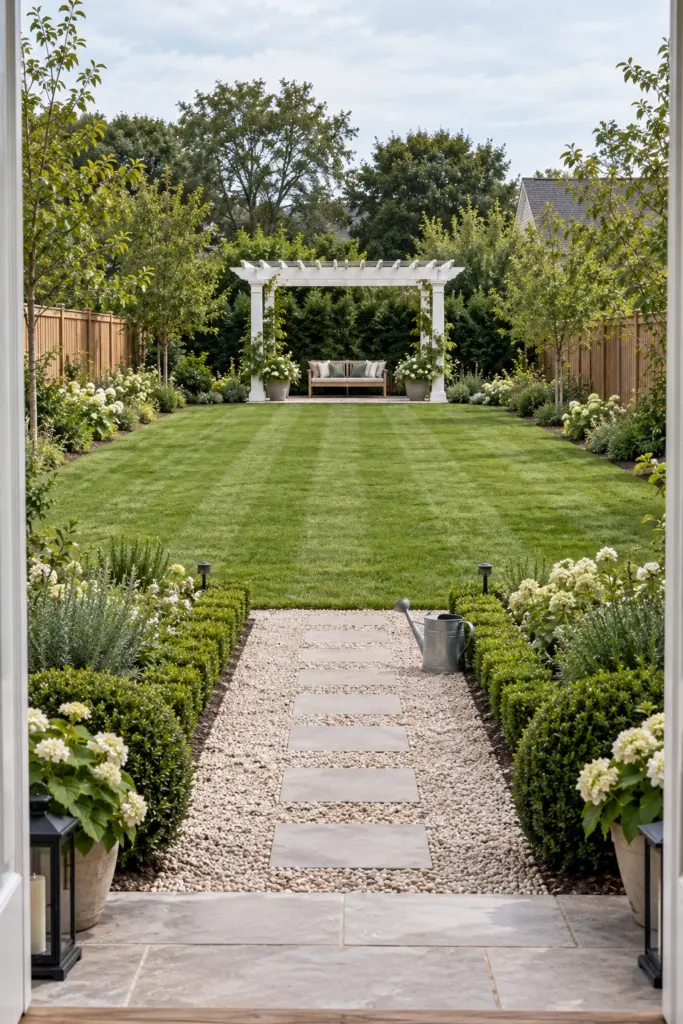
Putting the structure at the far end of a straight run of lawn gives the whole garden a destination, which is what stops a long yard reading as leftover space. Line it up with a door, a path or a gate so the axis is deliberate, then build in painted softwood with a simple flat beam. Keep the structure at least 3 feet clear of the boundary fence so you can still get round it to paint, and so it does not look pushed against the edge.
3. Pergola Sited to Catch the Evening Sun
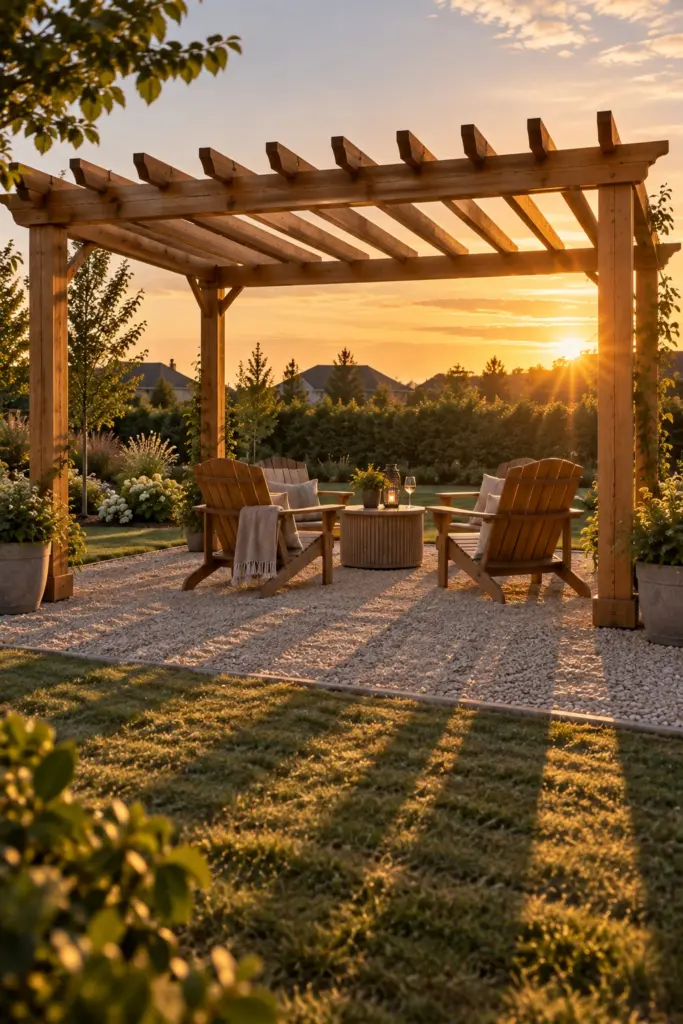
Placing the pergola where the last two hours of sun land is a siting decision, not a design one, and it changes how much the structure actually gets used. Track where the low western light falls in your yard across an evening, then set the structure with its open side to that. Build it from stained pine with widely spaced rafters so the light comes through. Rafters at 24 inches on centre give evening light without the striped glare of a tighter spacing.
4. Pergola Framing a Mature Tree
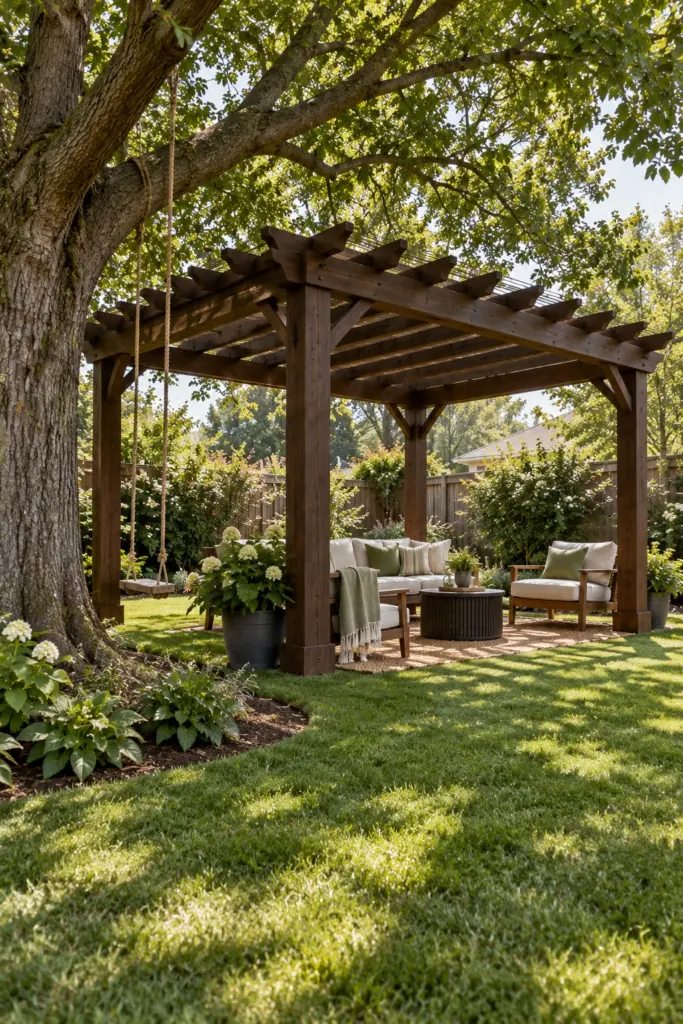
Building around an existing tree gives the structure instant maturity, but the siting rule is distance, not proximity. Set the posts outside the tree's root plate and let the canopy overhang the beam rather than trying to enclose it. Use dark-stained timber so the frame recedes against the trunk. Keep posts at least as far from the trunk as the canopy is wide at that side, and never dig footings inside the drip line without advice.
5. Pergola Facing Away From the Neighbour's Windows
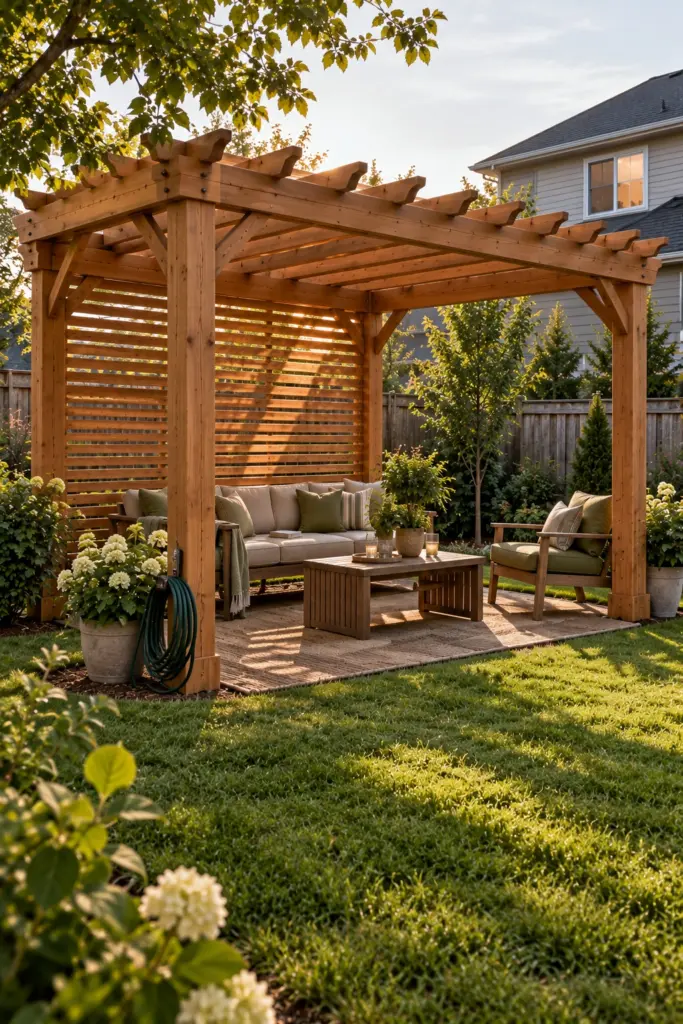
Orienting the open sides away from overlooking windows buys privacy without building a single screen, and it is free at the siting stage. Work out which upstairs windows actually see into the yard, then turn the structure so its solid side, planting or a slatted panel faces them. Build in cedar with one slatted infill panel. A panel of about 6 feet high blocks a first-floor sightline at typical suburban distances, but an upstairs window needs height overhead instead.
6. Pergola on a Rise Overlooking the Yard
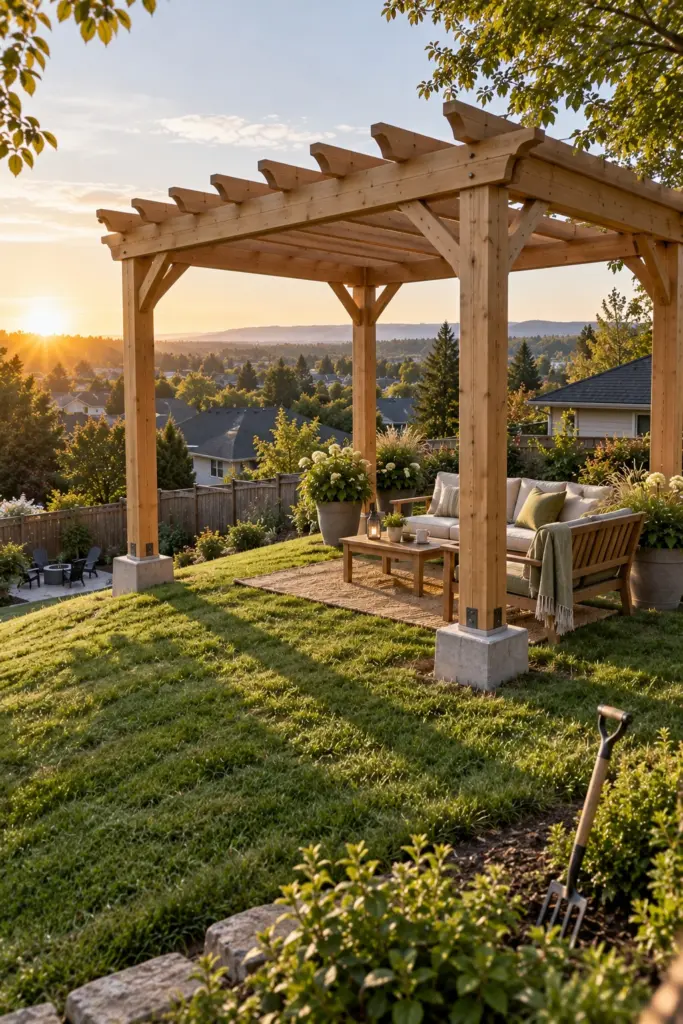
Siting on the highest point turns a plain yard into something with a vantage, and the structure earns its place by giving you somewhere to look from rather than at. Set the posts on stepped concrete footings cut into the slope, and keep the beam level even though the ground is not. On any slope steeper than roughly one in ten, footing depths start varying enough that each post needs measuring individually rather than cutting to a single length.
7. Pergola Framing a Water Feature
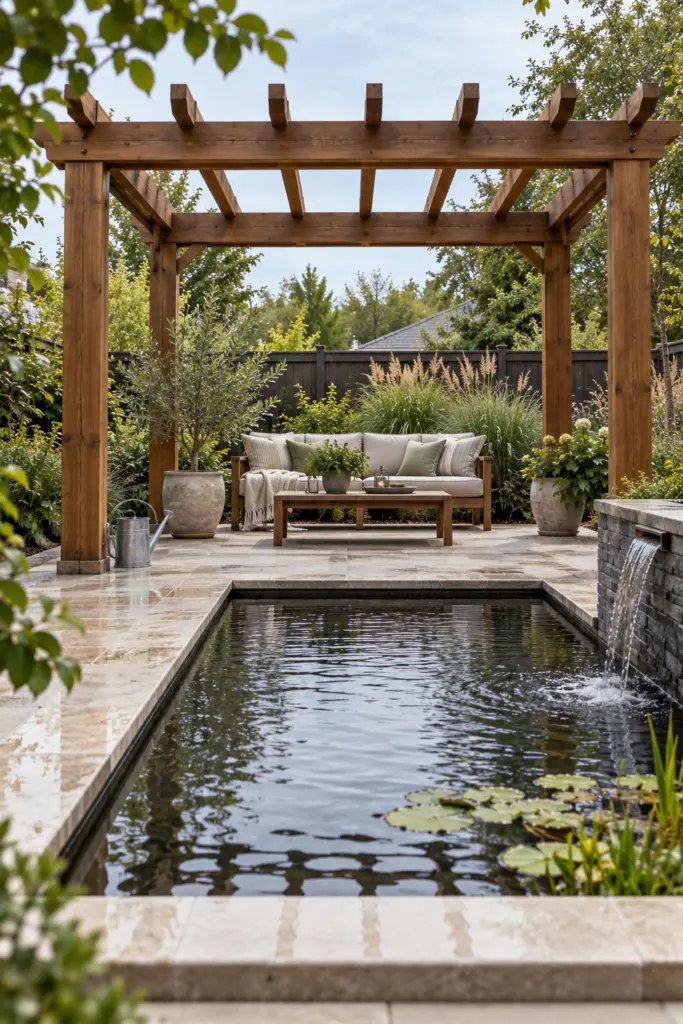
Building the structure around a pond or basin puts sound at the centre of the seating area, and water reads best when it is framed rather than approached. Centre the feature between the posts, keep the seating on the side the prevailing wind comes from so spray blows away from you, and use hardwood that tolerates constant damp. Keep timber posts at least 3 feet back from standing water, because splash zone and ground moisture together shorten post life sharply.
8. Pergola Marking a Dining Zone on an Open Lawn
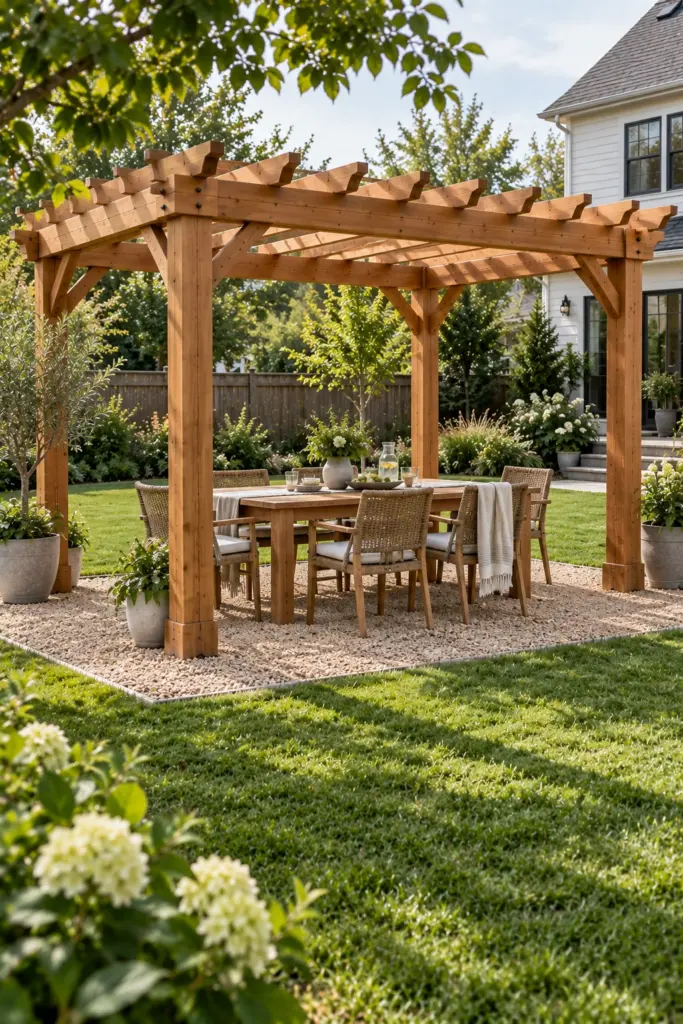
Dropping a pergola over a dining table on open lawn creates a room where there was none, and the table size sets the structure, not the other way round. Measure the table, add 3 feet all round for pulled-out chairs, and size the posts to that. Build on a compacted gravel pad so chair legs do not sink. A six-seat table needs roughly a 12 by 14 foot footprint once chairs are counted, which is larger than most people first draw.
9. Pergola Dividing Lawn From Vegetable Garden
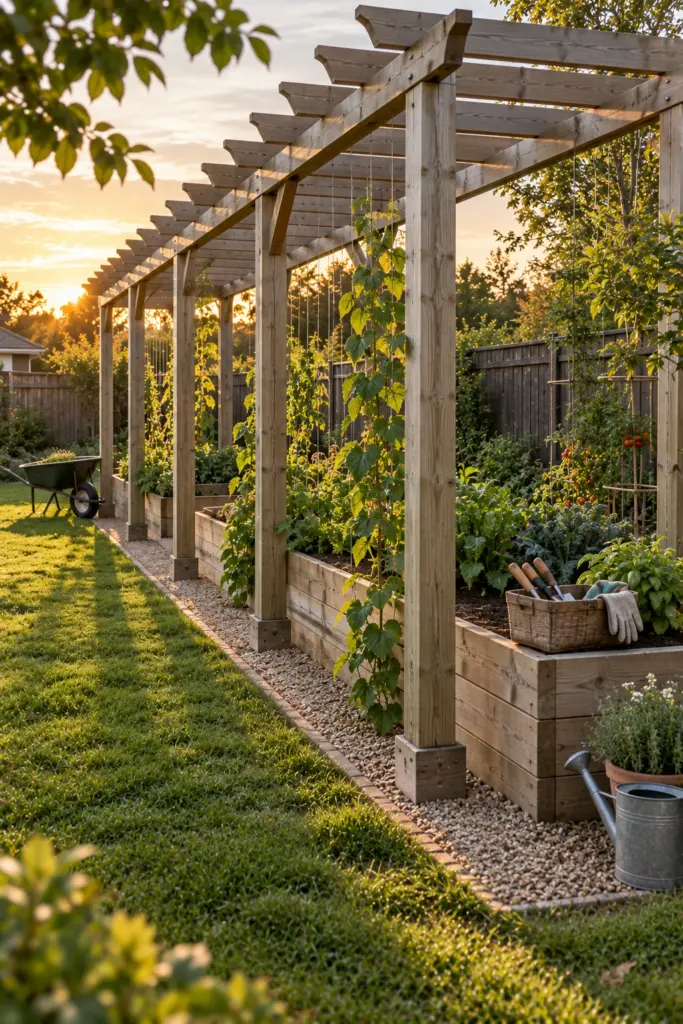
Standing the structure on the line between lawn and growing beds turns a boundary into a threshold, which is a better use of a pergola than pure decoration. Run it as a long narrow frame rather than a square, in pressure-treated timber with wire strung between posts for climbers. A width of about 6 feet is enough to walk through with a wheelbarrow; below 4 feet the wheelbarrow starts clipping the posts.
10. Pergola Over a Gravel Lounge Island
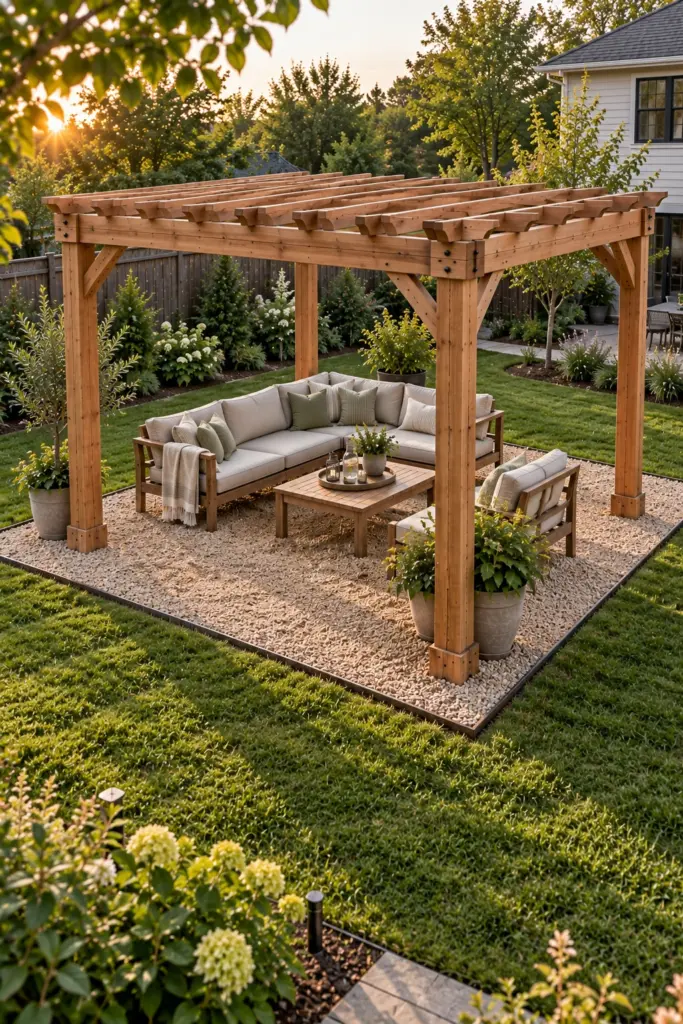
Setting the structure on its own gravel island in the middle of lawn makes the seating area feel deliberate instead of temporary, and the gravel edge does the defining. Lay a compacted gravel pad with steel edging, stand four posts on anchors set into it, and keep the pad about 12 inches larger than the pergola footprint on every side. Without that margin the pad edge disappears under the posts and the island stops reading as one.
11. Pergola Defining a Fire Pit Circle
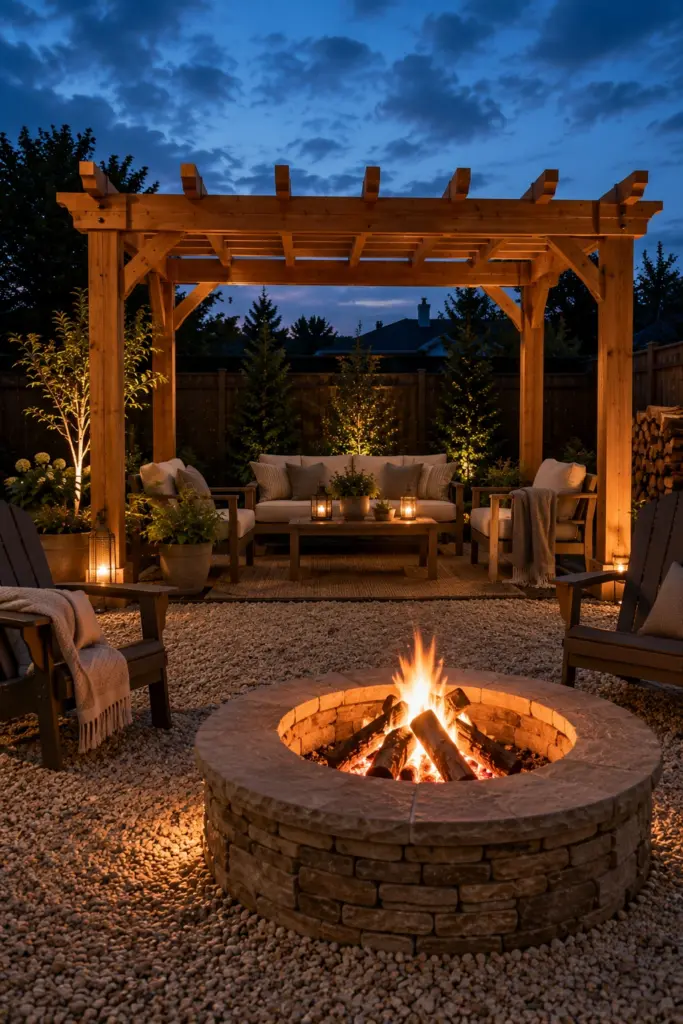
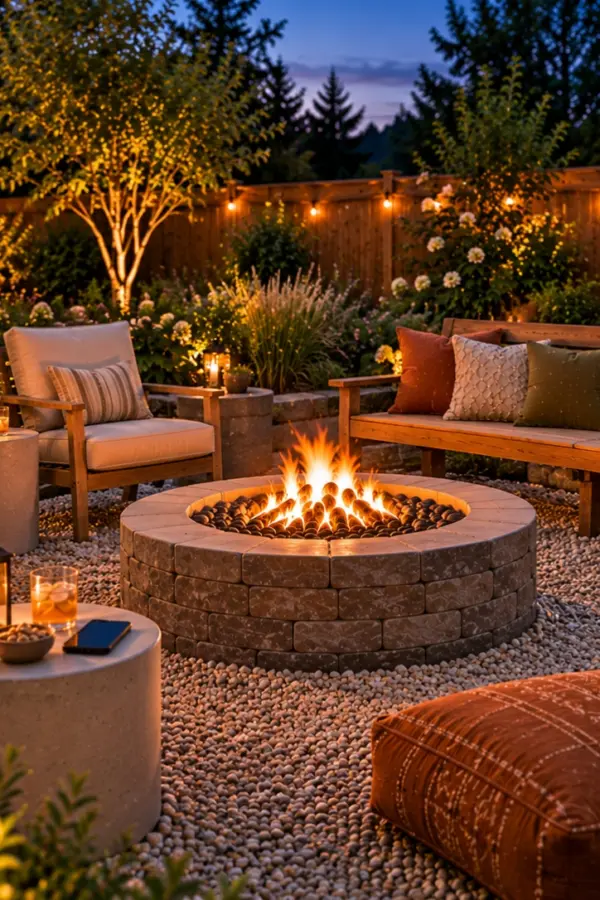
A pergola over a fire pit has to be sited around clearance first and looks second, because the numbers are unforgiving. Set the pit centrally, keep the beam high, and choose a gas or low-flame unit rather than an open wood fire under timber. Common guidance keeps any open flame well clear of overhead structure, so most builds put the fire outside the frame and the seating inside it, not both together.
12. Pergola as an Outdoor Room With Slatted Sides

Enclosing two or three sides turns a frame into a room, and which sides you close is a siting decision made from inside, not from the plan. Sit in the space first and see what you want gone. Build slatted infill on the closed sides in cedar, leaving the best view open. Slats at about a 2-inch gap screen a sightline while still passing air; closed tighter than an inch the space heats up and stops feeling outdoors.
13. Pergola Bridging Two Levels of a Split Yard
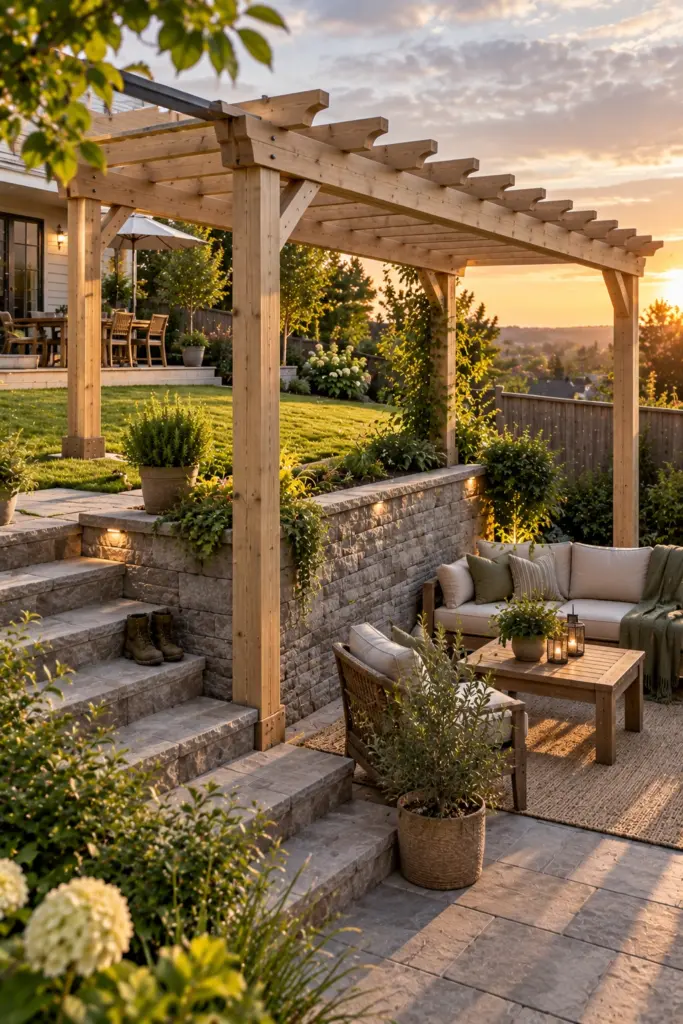
Straddling a change in level lets one structure serve both halves of a split yard, which is usually better than building two small things. Set the uphill posts short and the downhill posts long on stepped footings, keeping the beam dead level across the change. A level difference of about 18 inches works with a single step and a couple of treads; much more and the downhill posts get long enough to need bracing.
14. Pergola Over a Hot Tub Set Away From the House
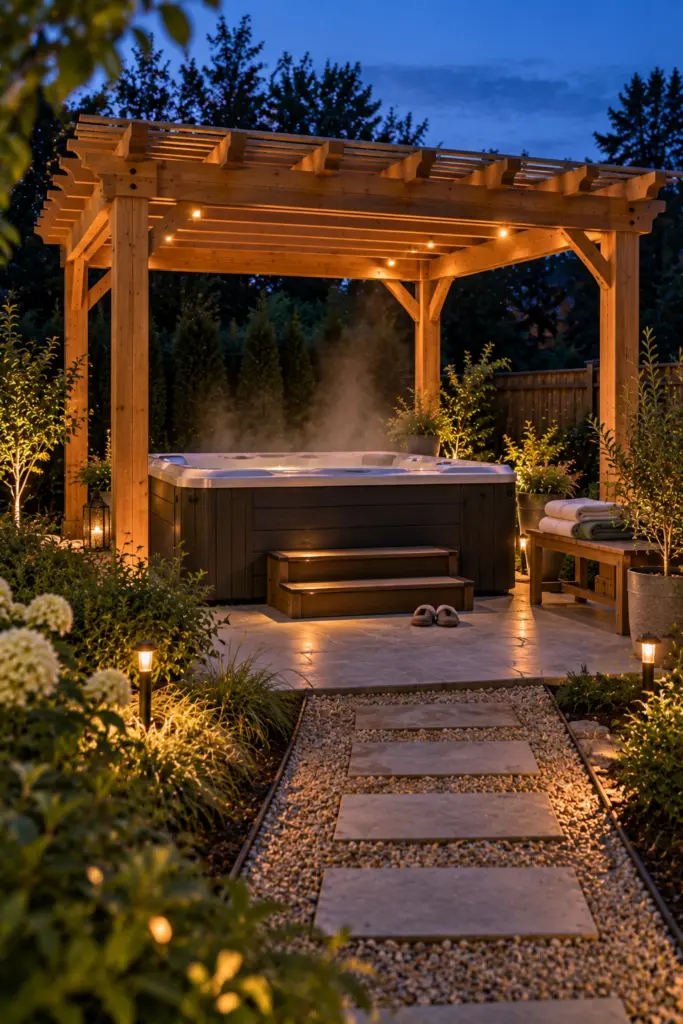
Siting a hot tub away from the house and covering it with a pergola solves privacy and shelter together, but the load underneath drives everything. A filled tub is extremely heavy, so it needs a reinforced slab or a purpose-built deck frame, and the pergola footings sit outside that. Keep the pergola posts clear of the tub lid's opening arc, which is the clearance most often discovered too late.
15. Pergola Turned Off-Axis to the House
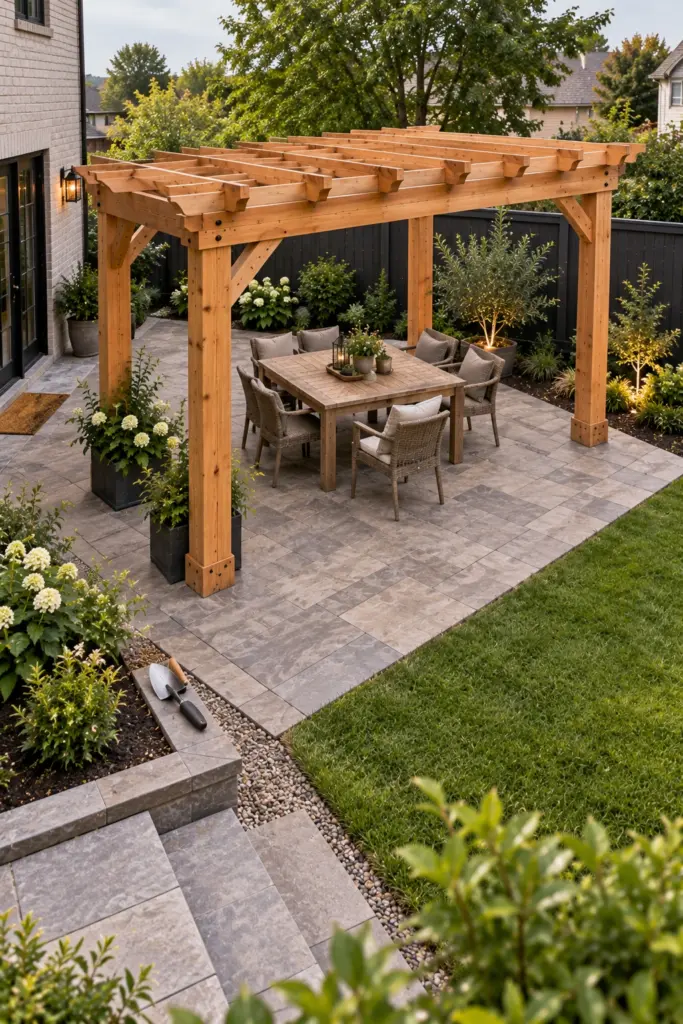
Rotating the structure away from the house lines is a deliberate move that makes a rectangular yard feel less like a box. Turn it enough to read as intentional, usually somewhere near 45 degrees, and let paving or gravel follow the same angle so nothing looks accidental. A rotation under about 20 degrees reads as a mistake rather than a decision, which is the trap with this one.
16. Pergola in a Corner Where Two Fences Meet
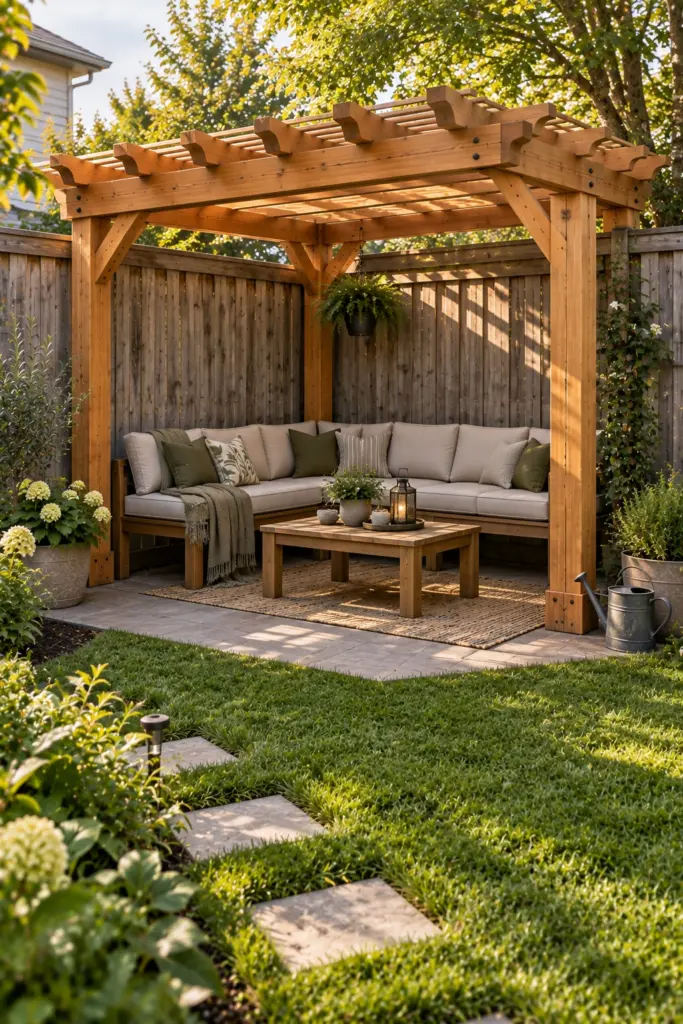
A fence corner gives you two ready-made sides, which is why it is usually the cheapest place in a yard to get an enclosed feeling. Stand the posts a hand's width clear of both fences so nothing touches, and let the corner do the screening. Keep about 4 inches between post and fence: enough to paint the fence later, close enough that the corner still reads as the back of the space.
17. Pergola on a Narrow Lot Set Parallel to the Fence
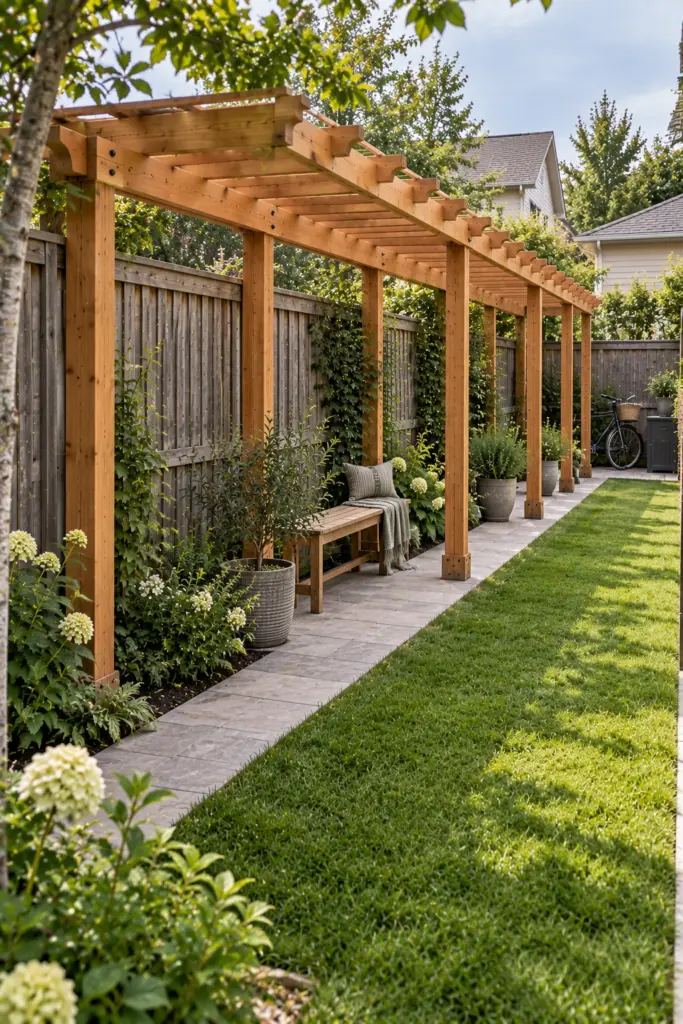
On a narrow lot, running the pergola along the fence rather than across the yard keeps the open ground in one usable piece instead of two useless strips. Build it long and shallow, roughly 8 feet deep, with posts hard to one side. In a yard under 20 feet wide, a structure set across the middle leaves nothing on either side worth using, which is the mistake this layout avoids.
18. Pergola Sited to Miss Underground Services
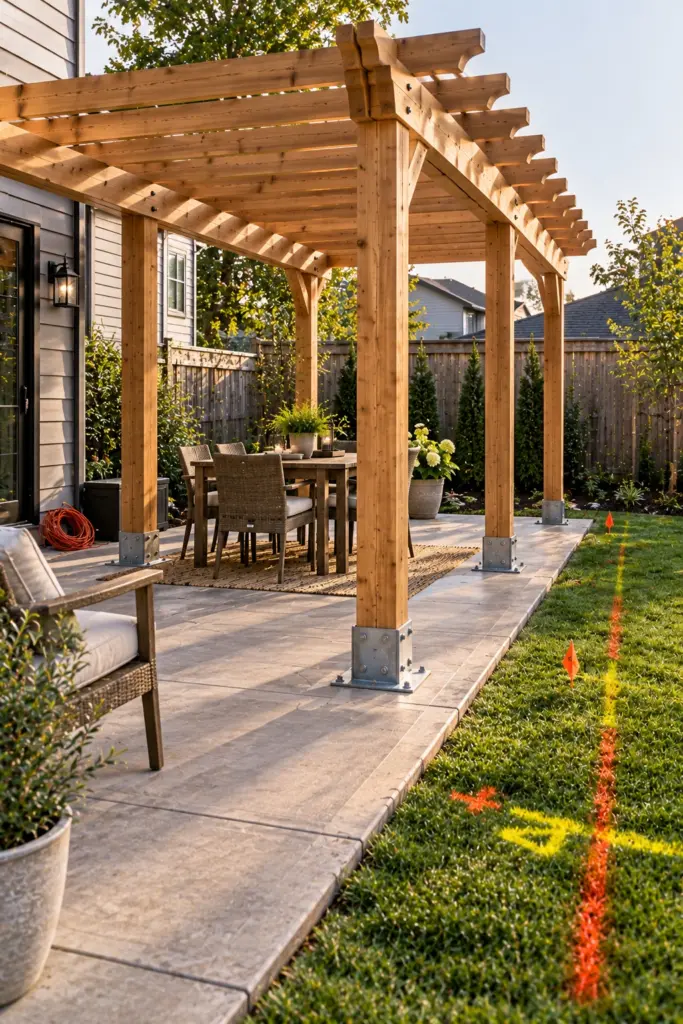
Where the footings can legally go is often the real constraint on siting, and it is worth establishing before any design work. Have the utilities located and marked, then place the structure in whatever clear ground remains. Post anchors on an existing slab avoid digging altogether where services run shallow. Never dig footings on a marked service line, and treat any unmarked older run as present until proven otherwise.
19. Pergola on a Slope With Stepped Footings
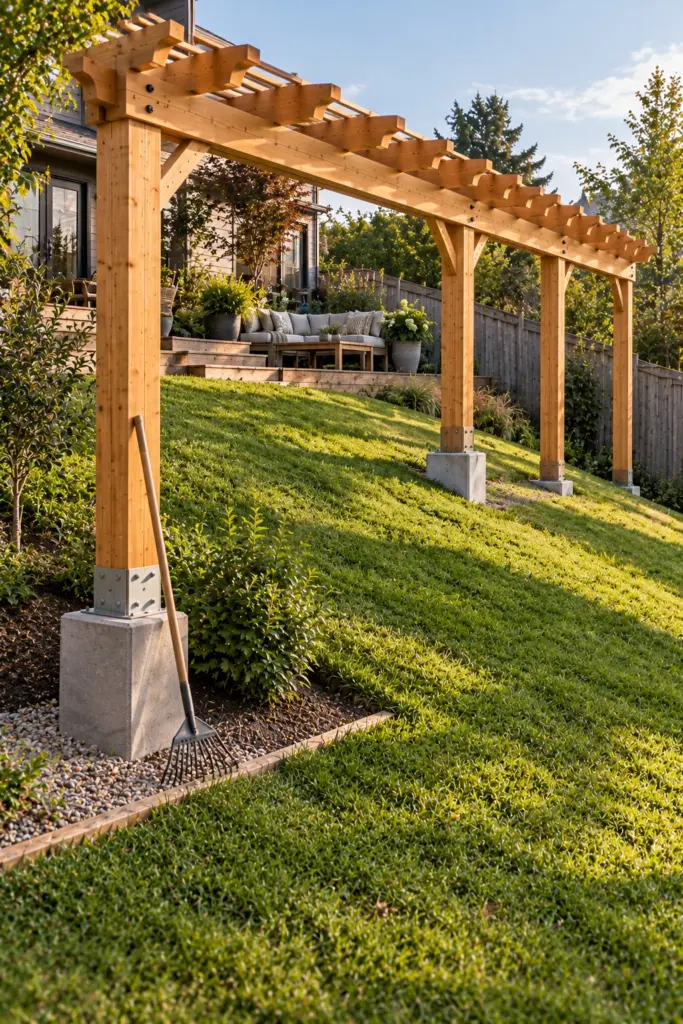
Building across a slope without terracing keeps the cost down, and stepped footings are what make it possible. Pour each footing to its own depth so every post top finishes at the same level, then keep the beam and rafters horizontal regardless of the ground. On slopes past roughly one in six the downhill posts get tall enough that lateral bracing stops being optional and starts being structural.
20. Pergola Sited for a Future Extension
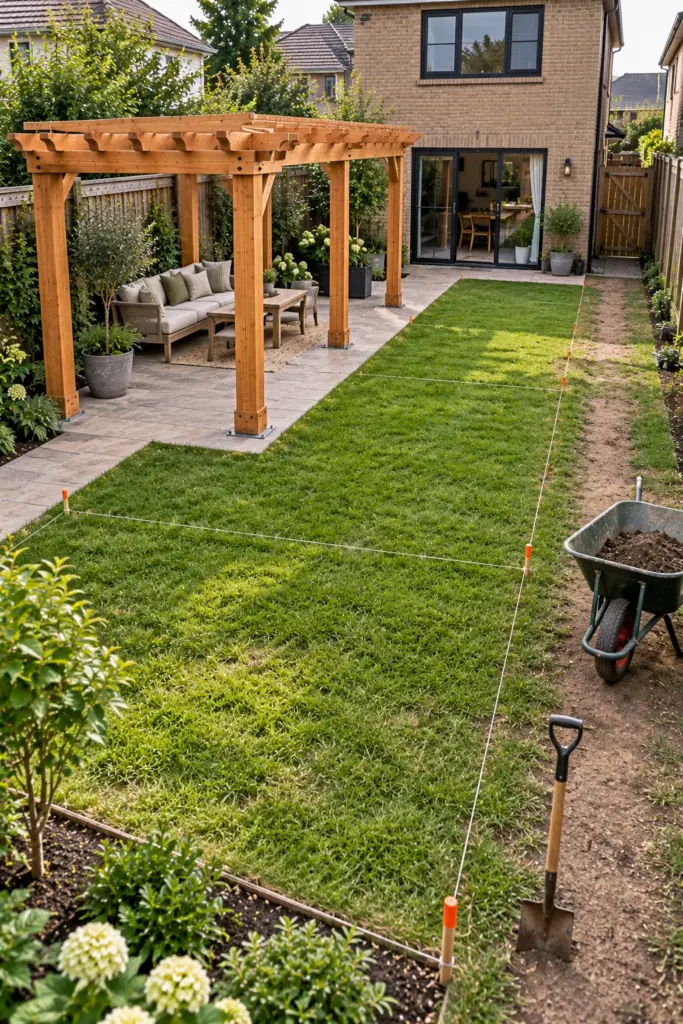
Siting around a build you have not done yet is the least glamorous decision here and the one most likely to save money later. Work out where a future extension or garden room would sit, then place the pergola clear of that footprint and clear of the access route to it. Leave a clear route of at least 3 feet wide to the back of the yard, because that is roughly what a mini digger and a wheelbarrow need.
Final Thoughts
Siting is the decision that everything else follows from. Frame something worth looking at, or define ground that has no edges, or work around the slope and the services you actually have. Get that right and a plain four-post frame in stained pine looks considered. Get it wrong and no amount of hardwood rescues it. If space is tight, size the structure before you site it; if there is a wall to work with, attaching it is usually cheaper. Save this to Pinterest so the siting notes are there when you peg it out.
Frequently Asked Questions
Deep enough to sit below your local frost line, which varies from roughly a foot in the warmest states to four feet or more in the coldest. Your building department publishes the figure. On an existing concrete slab you can skip digging entirely and use bolted surface anchors instead, which is often the simpler route.
Often yes, and it usually depends on size and height rather than whether it touches the house. Many jurisdictions set a floor area or height above which a permit is required, and setbacks from property lines apply regardless. Check with your local building department before you dig, because the setback can move the whole structure.
Around 4 inches clear of the fence itself is the practical working gap, so the timber stays ventilated and you can still paint the fence. Property line setbacks are a separate and usually larger requirement set by your local code, and those are the ones that decide where the structure can legally stand.
Usually a little, because you build four posts and four footings instead of two. The gap is smaller than people expect and closes entirely if the attached version needs masonry fixings, flashing or a permit for work on the house frame. Freestanding also avoids any risk to the wall.
Loved this? Pin it so you can find it later.
Pin this post
Sana Ahmed
Hi! I’m Sana, and I’m always looking for fresh ideas to make outdoor spaces more beautiful and enjoyable. I love exploring everything from cozy patios and pergolas to backyard fire pits, privacy solutions, and charming garden sheds. I’ll be sharing the ideas that catch my eye and hopefully help you find a little inspiration for your own outdoor space.
All postsKeep reading